Lie Nielsen's Open House and the making of a table top – part 6: Dealing with eventualities9/19/2010 After the glue, which secure the dowels dried, I planed the dowel and its surrounding surfaces flush. Then I started to rabbet the boards edges to allow them to fit in into the table frame.
I did not want to connect the board to the frame with fasteners; it was not necessary, as I created an internal rabbet (or lip) on all the table apron/rails which will accept the rabbet on the table top.
But then alas...!
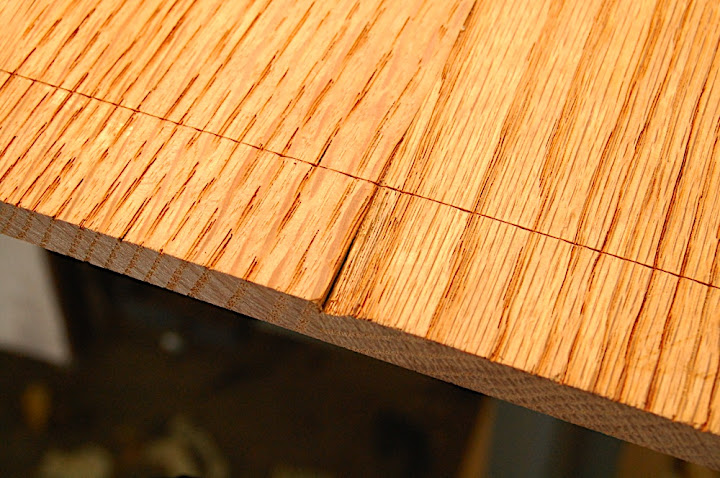
It was a pity but actually not such a bad one. As it happen often: mistakes and accidents can lead to discoveries. In this case, and instead of trying to embark on a restoration mission (fitting a replacement piece of oak and then planing it down) I decided to change the design a bit. I went on to create a slanted chamfer on all edges. I planed the chamfer until the missing wood chip blended in the angled strip. Before starting to plane the chamfer I scored its parameters. I did it for two reasons: to help me know when to stop planing; and to create a defined transition line between the chamfer and the table top.
You see, it would be very difficult to recognize a chamfer of such a subtle slanting angel – as an intended design feature – without the border line. When it is difficult to pinpoint a transition between structures or materials, people tend not to notice it.... or worth: think that the maker made a mistake or neglected to think the design through.
0 Comments
Leave a Reply. |
AuthorI will share with you my own work, tools, and techniques. I will show how my friends and students build beautiful objects. Sometimes I will talk about wood, forests, sustainability and much more. I am sure it will be interesting Archives
January 2011
Categories
All
|


 RSS Feed
