|
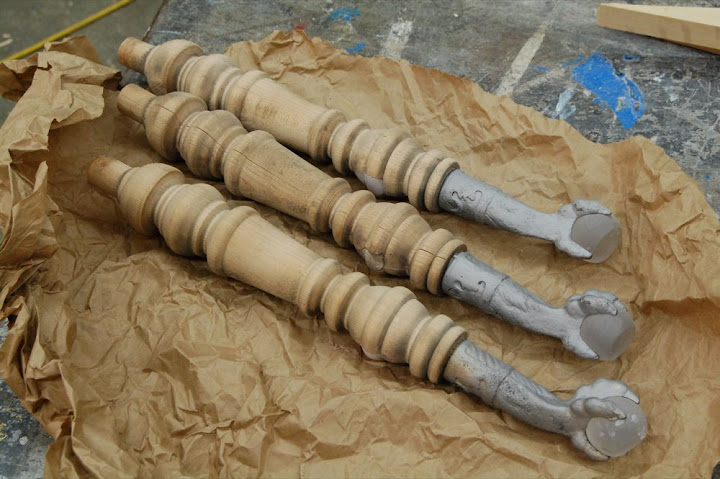
A few years ago my friend Robin gave me three wood & cast iron legs which used to be part of her grandmother's piano stool. Robin said to me: "Yoav, you make great things from found objects, maybe you'll find some use for these legs". A few years passed and Robin and her boyfriend, Chris, got married. So I said to myself, this is a great opportunity to make something out of these legs. It took me more time – much more time than the customary one year grace-period one has to give a wedding gift, but I am after all an artist, and as you all know, an artist's time can be stretched..
The legs wood finish was all ruined; the cast iron ball and claw feet were rusted; the balls themselves were chipped or broken... so I decided to take a drastic measure: to sand-blast them and get rid of many of these inflictions. Then came the question of what to do with the open mortises that used to house the original (and missing) rails, and of course – what am I going to do with the legs? The answer came in the shape of a broken glass lid that embraced a round walnut plate. I found these items on one of the shelves in the Artist-in-Resident space at Purchase.
0 Comments
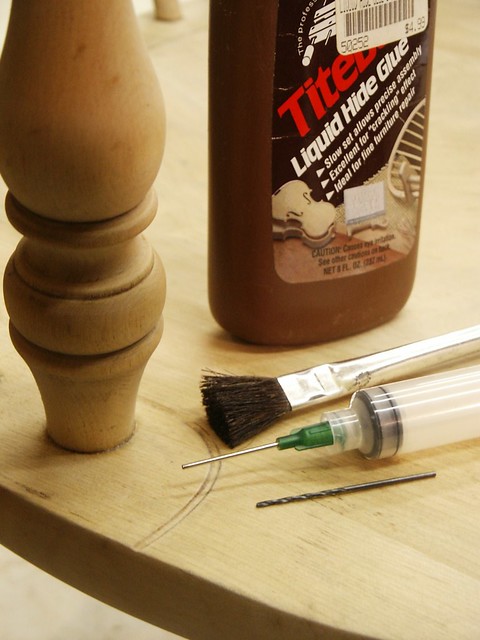
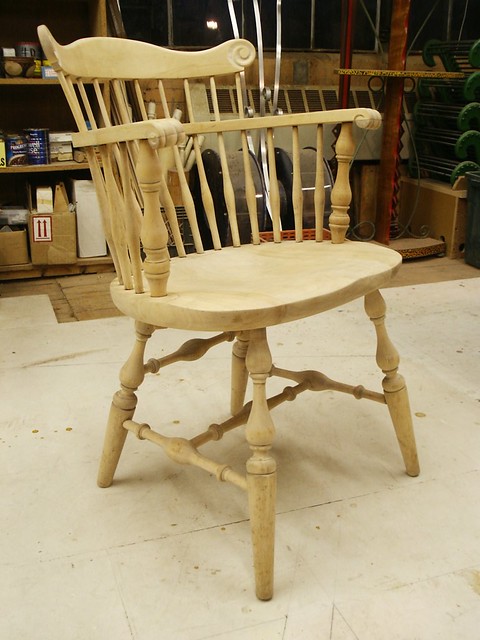
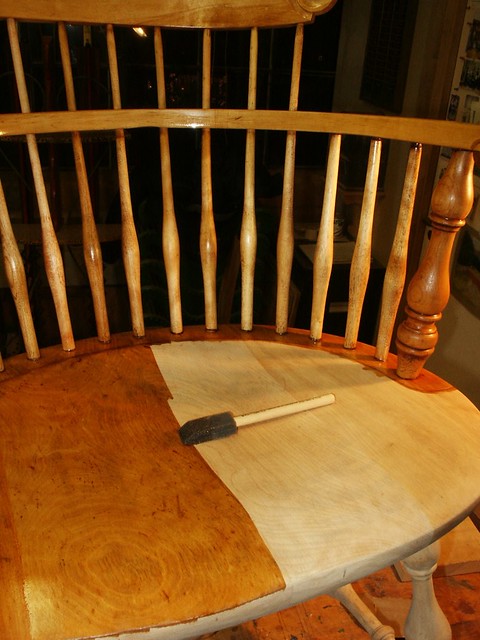
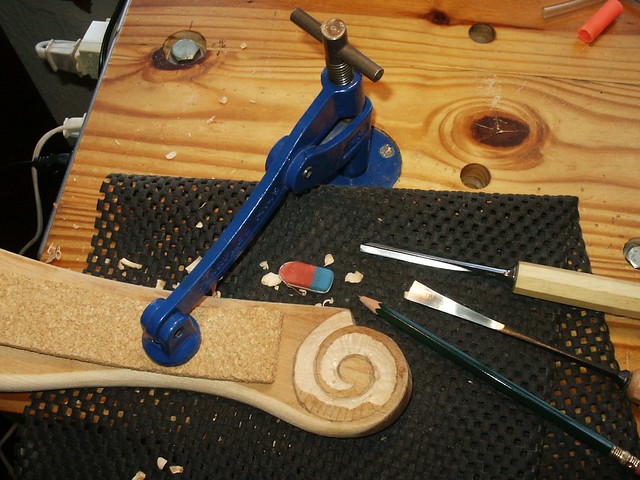
Carving the chair's crest rail was fun, and I think that adding the scroll detail improved it. The next step was to glue the parts together. In some cases, where parts were not disconnected but just loose, I injected glue in between the tenons and the mortises; I used liquid hide glue throughout the proses. To inject glue in between tenons and mortises I drilled a hole and inserted a syringe to force the glue in.
After the glue dried I sanded the chair and applied two layers of polyurethane clear finish.
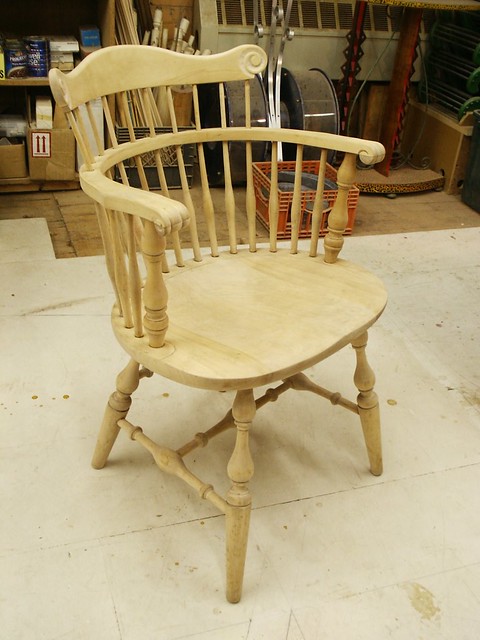
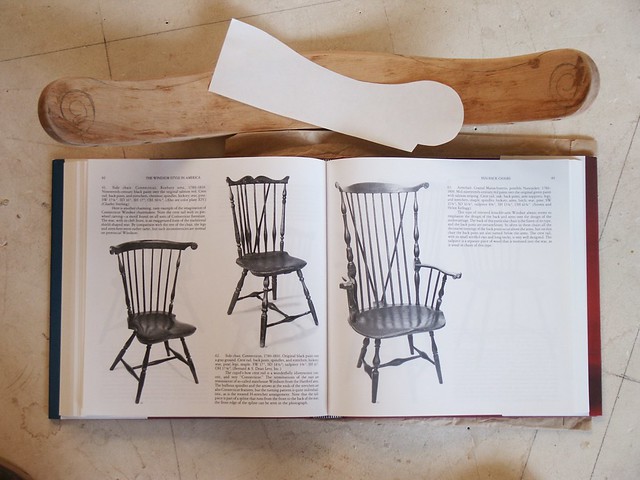
Once I finished stripping the old finish, I started planning the necessary repairs and alterations. I had to make two new spindles. To compensate for the missing ones, I had to re-glue a loose carved detail under the arm rest and to decide how to make the comb back a bit more elegant so that it would look nicer than the original. To be inspired and plan the change, I opened one of my books – The Windsor Style in America: The Definitive Pictorial Study of the History and Regional Characteristics of the Most Popular Furniture Form of 18th Century America 1730-1840 (Vol 1 & 2). I looked at the different shapes of the scrolls that decorate the steam-bent, curved crest rail. The most beautiful Windsors have delicately carved ears; and this is what I decided to do..
I examined few of the regional chairs built in New England in late 18 century, and borrowed one of the scroll designs. I made a template of half of the outline of the future crest, then I traced the design on the chair's crest and curved it. I also narrowed the crest to make it less bulky.
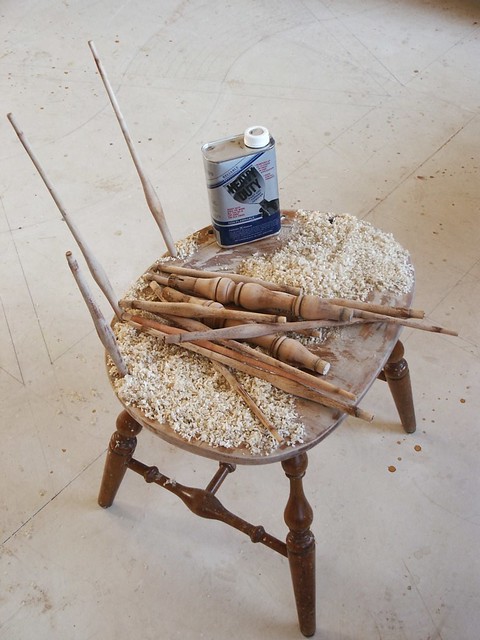
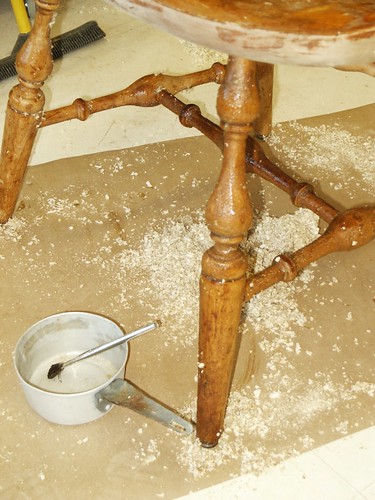
A few years ago I found an old Windsor chair near the dumpster of one of the buildings in Harvard. It was a snowy day and, when I picked up the chair, I saw that it suffered from few problems - loose legs and stretchers, missing and broken spindles. I am sure that these were the reasons it was tossed away from the department/office it used to live in. I decided to restore it and add a detail or two to make it stand out. The first step was to extract the sockets and all the loose parts from their mortises. The next step was to start the stripping process – as the old chair was covered with chipped, cracked and peeled off polyurethane finish.
Honestly, I really don't like stripping finishes. This is because stripping agents are among the more harsh materials in our woodworking world, and in order use them one needs to take extra care, wear gloves and even a respirator.
How I remove finish with a stripper: I pour some stripper into a metal container. Then with a brush I apply it onto the surfaces. Once the stripper have dissolved the finish (made it softer, and liquidy) it is time to scrape the stripper-finish goo. I like to use coarse saw-dust as a medium for scrubbing and absorbing the stripper-finish goo. To collect the goo form beaded details and other intricate areas you can use ropes, shop made wooden scrapers, etc. Then after all the goo have been taken off, you can clean any remaining stripper residues with a cotton rag moisten with mineral spirit or water – read the instructions carefully to learn what is the recommended material to rinse & naturalize the stripper. Next time I will talk about the restoration/alternation process
|
AuthorI will share with you my own work, tools, and techniques. I will show how my friends and students build beautiful objects. Sometimes I will talk about wood, forests, sustainability and much more. I am sure it will be interesting Archives
January 2011
Categories
All
|

 RSS Feed
