|
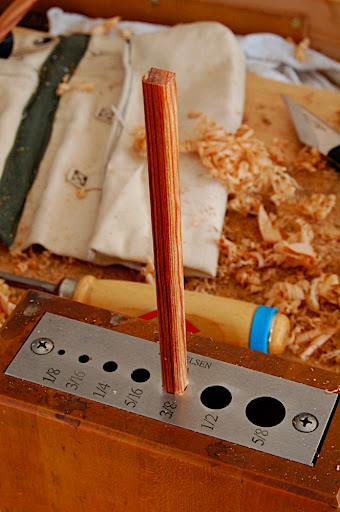
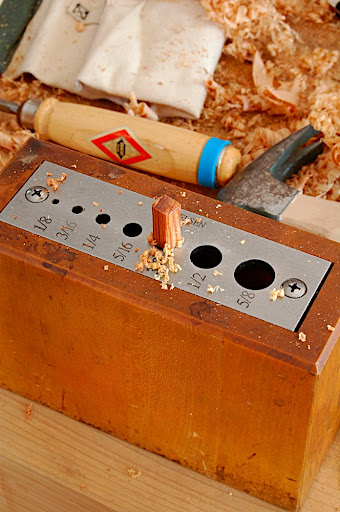
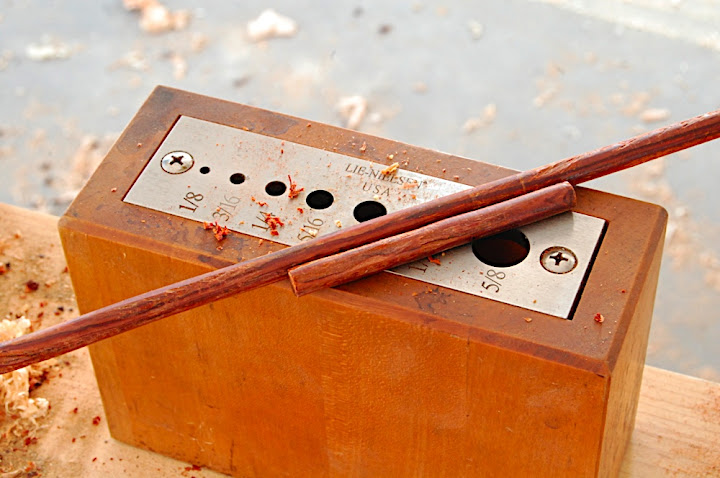
After making the keys and forming all the the mortises, I made the dowels. To make a dowel I first used the band saw to re-saw and form a square shape rod. Then I forced it into a hole in a dowel maker (dowel maker in a steel plate that has tapered holes in deferent dowel diameter.
I found out that some woods, like Bubinga or Heard pine, will not shave so nicely while others, such as birch or maple will be easier to form. However, I choose Bubinga for its beauty and contrasting effect on the oak.
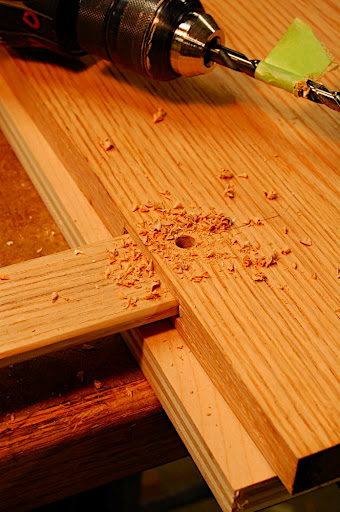
After the glue dried I drilled a hole that passed from one face of the board to the other, penetrating through the key. Than I inserted the dowel to secure the key – just in case, and for appearance purposes. Then came the crucial part of drilling and alighting the holes on the other side of the board, so that once the dowels are inserted the it will force the joint between the boards to close; enough to make the dowel to spring and pull the key inside the mortise and consequently the edges tighter.
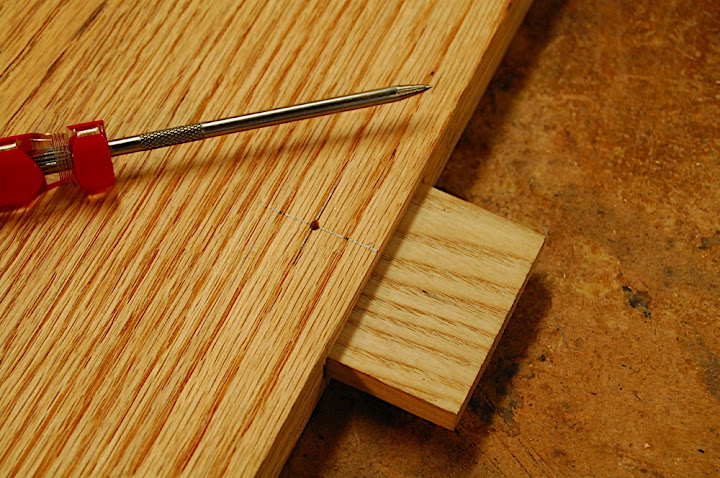
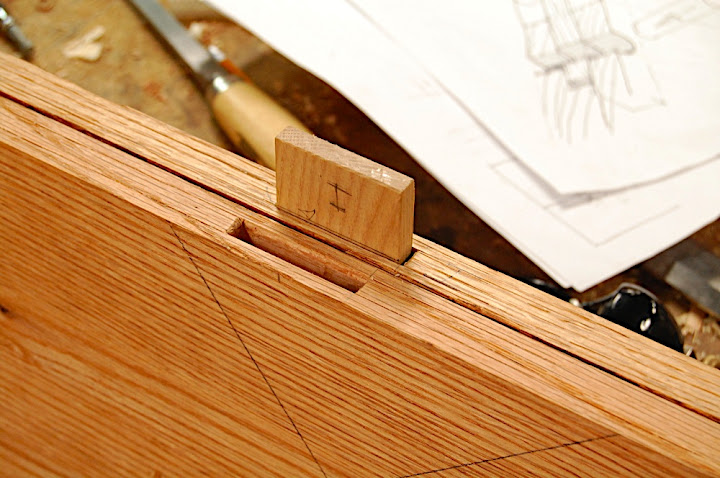
Than I inserted the facing boards and its keys to the mortises and marked out the circumference of the entry hole onto the key.
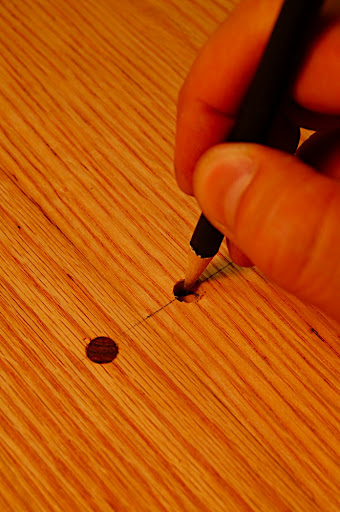
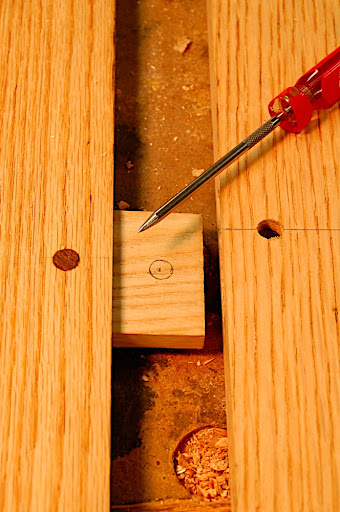
The next step was to indent an of-center point on the marked out circle. I drilled the of-center hole, brushed glue in the mortises, on the keys and on the edges and pressed the parts together. Then I drove the dowels in (with some glue) and saw how they pul the joint tight.
0 Comments
The most common and easy way to glue two boards together (in order to make a wider board) is to joint the edges, apply adhesive and clamp them under pressure until the adhesive cures. Occasionally we will add biscuits or a splines in between the edges; in other cases, when we need to make a superior joint with greater contact surfaces between the two edges, we will use a special router or shaper bit to make a series of grooves and complimentary ridges that will fit into the grooves.
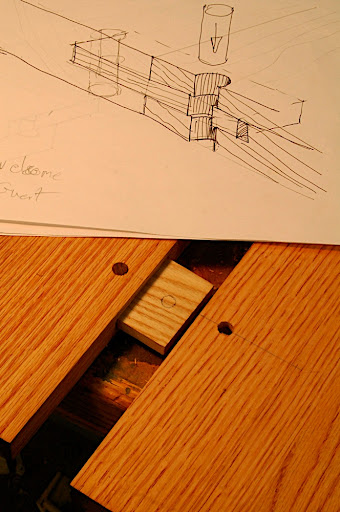
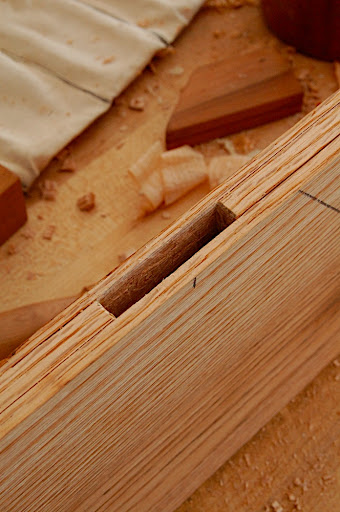
In the case of the table top I built, I choose a third technic. Few years ago I read a book on country furniture making, written and illustrated by George Buchanan: The Kitchen – Timeless Traditional Woodworking Projects. While reading this book I’v learned how to join boards without the assistance of clamps. A key is inserted into the edge of the two boards, than pegs are inserted into the boards to secure the keys. But the pegs have a much more important mission. As the holes in the keys and the boards are intentionally not in complete alignment, diving the peg into place will create a force to pull the two edges together (see illustration attached).
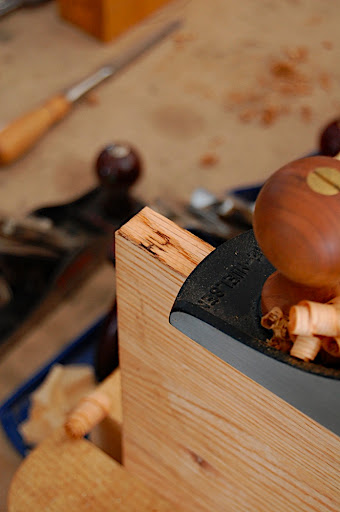
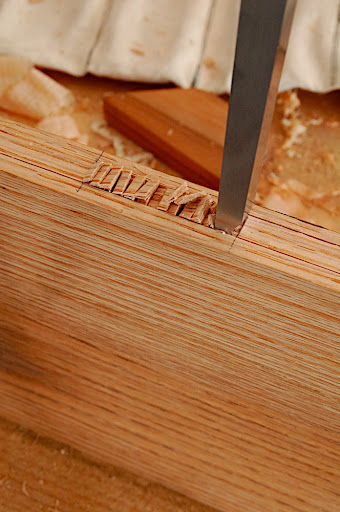
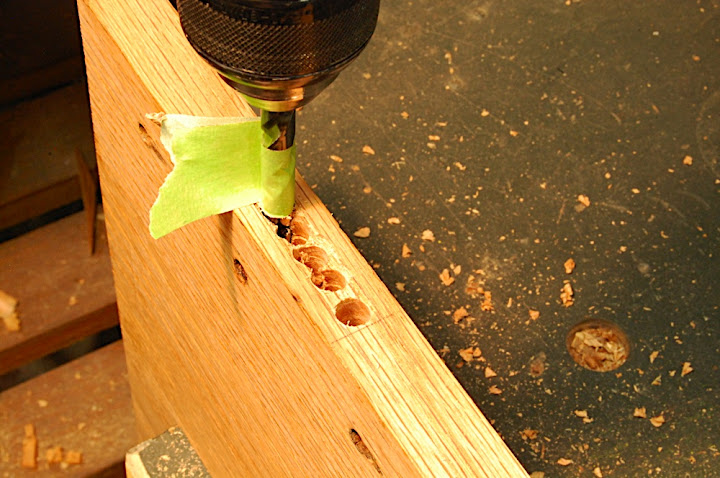
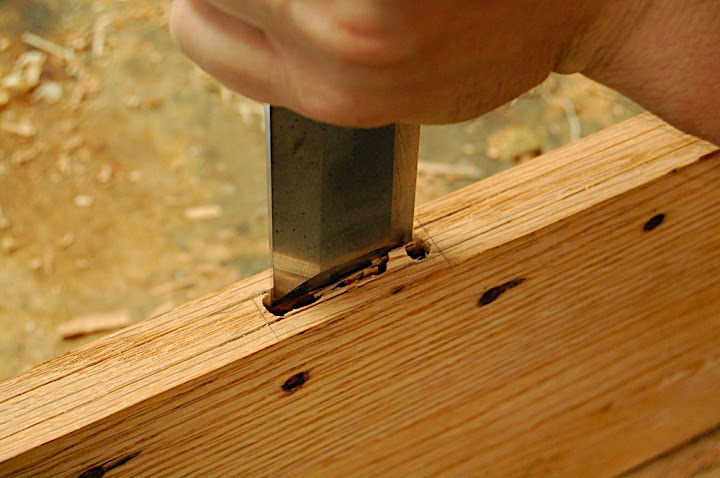
The hole in the key is off seted by a tiny amount – enough to make the peg spring and pull the key inside the mortise and consequently the edges tighter. I made the keys from ash. At Lie Nielsen’s open house event I used mortising chisels to crated the mortises. Later on in my studio, I finished the remaining mortises by combining together the force of a cordless drill, a mortise chisel (for the mortise narrow edge) and a bench chisel on the long edges.
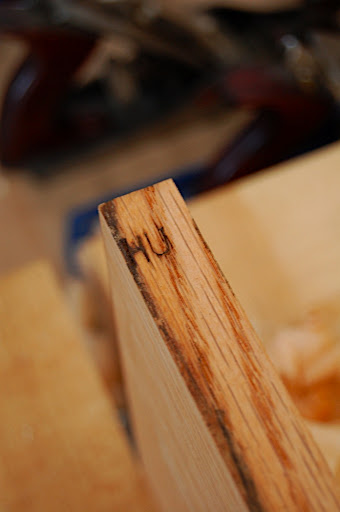
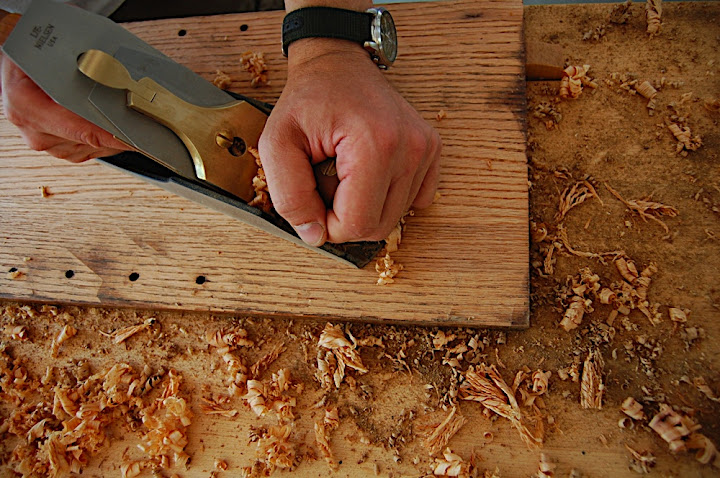
Lie Nielsen's Open House and the making of a table top – part 3: Planing the table top's boards.8/29/2010 As you recall in my first posting about the Lie Nielsen's open house, I wrote that in order to make the new coffee tablet top, I used the remains of an old bookcase that I salvaged from the trash of Harvard college.
The bookcase had several parts which were dadoed-nailed together. To make the coffee table top I decided to used the book case’s sides. I chose the outer surfaces to be the top’s top. This was the obvious choice, as the inner faces – which included the holes for the shelves hangers – had to be placed face down. At first I did not know what kind of finish was applied on the boards. It looked dark brown and not in the best condition. I decided to take it off, and knew I could do it in few ways: Sanding, striping, or planing.
I don’t like sanding – who does, besides, if you plane after sanding you will most likely ruin the nice edge you work so hard to create.
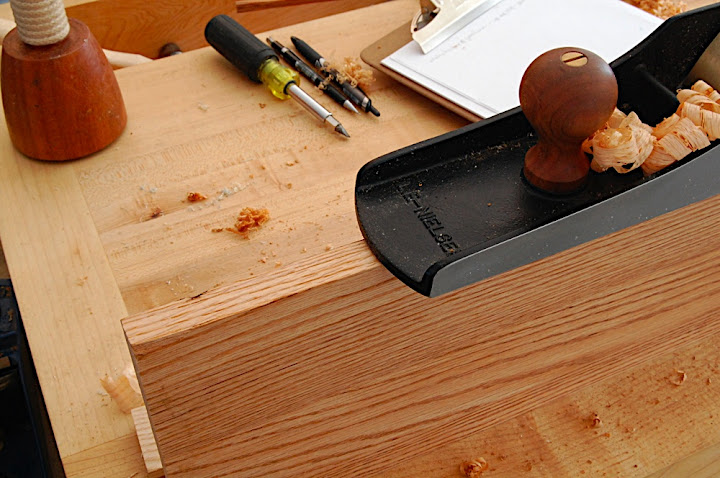
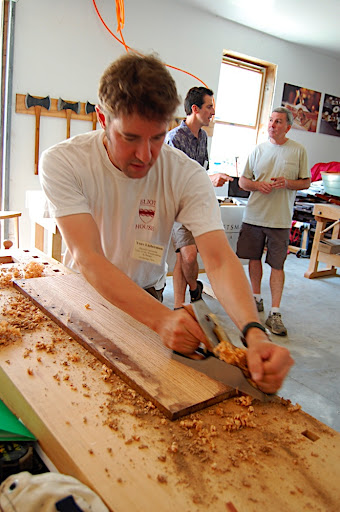
So the last option, and my most favorite one, is hand planing. When I started planing, I smelled a familiar scent. It was mixture of mold smell and shellac aroma.... and no, I am have not lost my mind... I used a No 4 1/2 plane and a low angle Jack plane with a toothed blade. At first everything worked fine. I encountered no tear-outs and managed to remove the finish and a thin layer of shaving with ease. But them things started to be comlicated. Parts of the finish stacked to the sole of the plane and practically lifted it off the surface to the extant the the blade could not engaged the wood.
I tried to remove the clogged up finish with a 3M scrub pad, but this was time consuming, and plus, I did not wanted to erode the sole of the plane.
Then came the eureka moment we all are very proud of when we remember it in retrospect! why to straggle with the finish with mechanical means when I know what shellac is most submissive to? you guess correctly (and you don’t have to pass Organic Chemistry 101): Alcohol, Methanol, Ethanol... as far as I know they all dissolve it fast and efficiently. And this is exactly what I did. I got some denatured alcohol and cleaned the plan’s sole every time shellac clogged it. After this, planing was quite easy and I finished stage one of the project in less then two hours (including one coffee brake and few chitchats with my fellow artist and other guests).
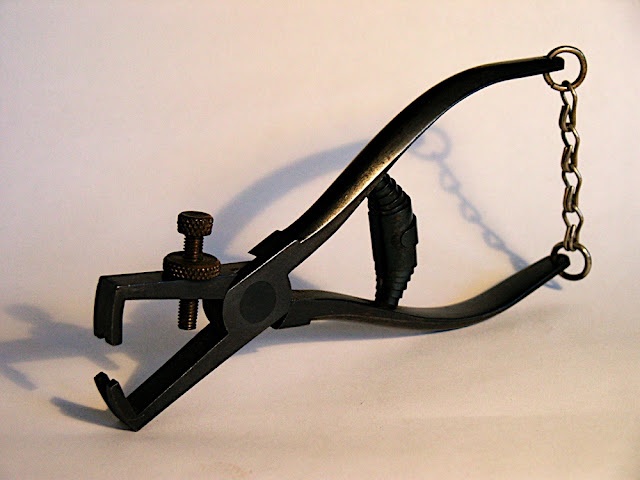
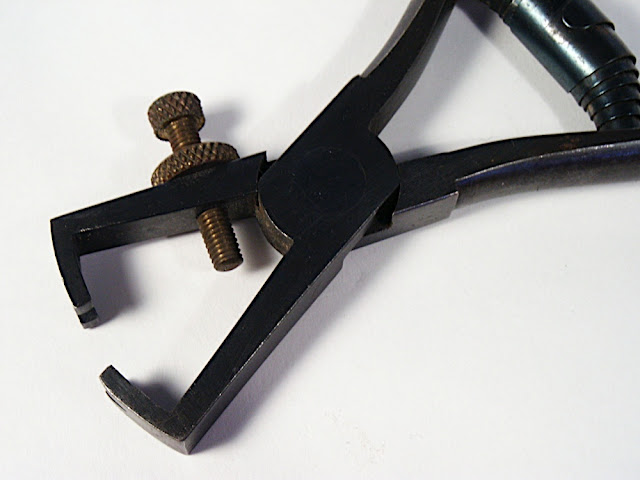
I love working wood, but I also like the challenges of metalworking. I come from a family that was made in the forge: my grandfather was a metal-smith, my father and my oldest uncle were machinists (dad later became a chief engineer in the Israeli merchant fleet) and two of my cousins are blacksmiths. Yours truly went to a vocational high-school and learned how to cut, file, weld and turn metals. One of my high-school metalworking projects was to make an insulation wire stripper. We formed the arms with hand tools; We turned the thumb screw on a lathe, than we gun-blue the tool. The only parts we did not make were the spring and the chain. I don’t remember if we did the hardening of the cutting teeth, or whether it was done by our teacher?
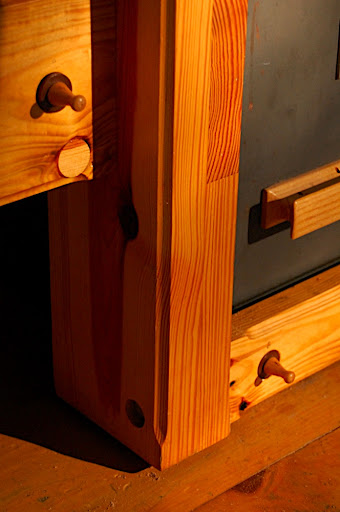
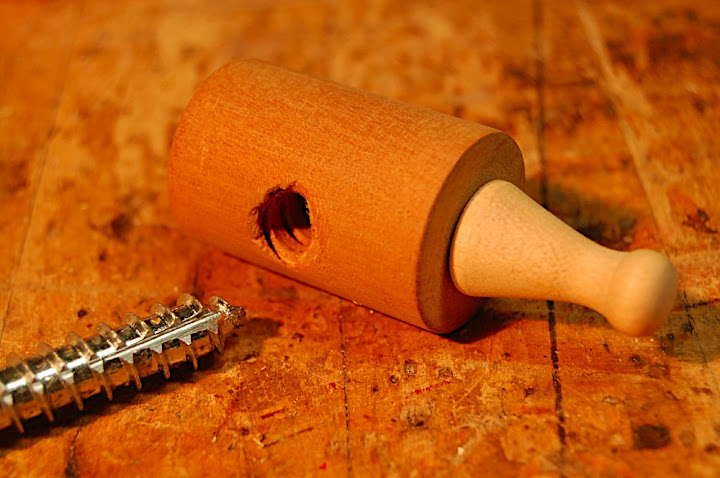
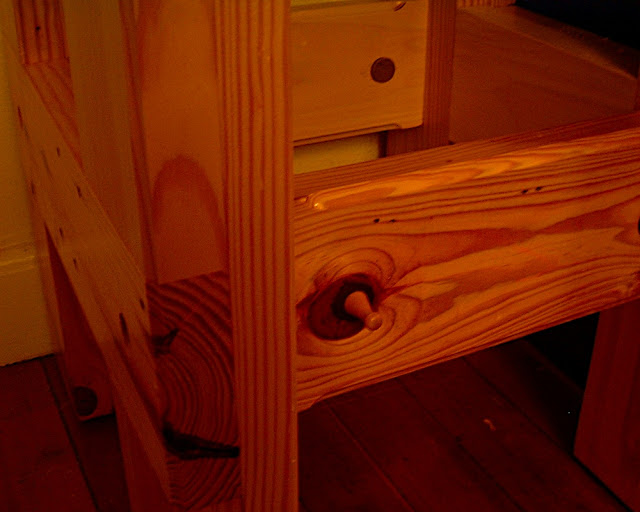
If I were to built the bench again, I would have not added a decorated finials to the wooden nuts that anchors the lag screws. The finials allowed me to easily rotate the nuts right or left, and in and out in order to align them with the lag screws, but they are prone to breakage and might be just that obstacle you bang your knee or toe into. In hindsight the nut should have had a protrusion to help me align it to the lag screw, but definitely less conspicuous than the one I made. The best way to transform a wooden dowel into a leg screw nut is by pre-tapping the dowel hole with a makeshift lag bolt tap. Using a rectangle file I formed a tapered groove in the end of a lag bolt– starting at the tip and going back to about 3/4” long. The teeth formed on the sides of the groove thread the hole, so once you screw in the actual connecting lag-bolts, they easily anchor themselves in the wooden nuts.
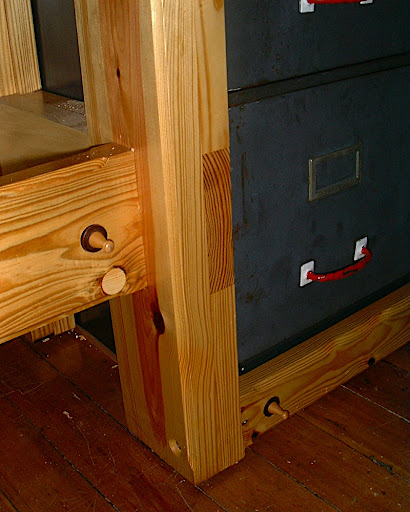
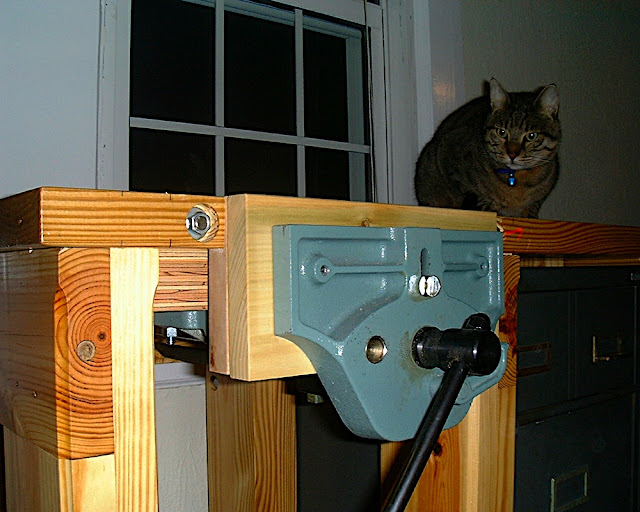
I equipped my new American workbench with a Record Marple Hold Down clamp (Model #145), a quick release bench-vise, three rows of 3/4" diameter holes to accommodate the Veritas system of bench dogs. The street-found workbench served me well. For eight years it stood in my living room enabling me to do small scale projects in the comfort of my home. Because I had to relocate and knew that a close friend would probably make best use of the bench, I decided to give it to Jake, knowing he could put it to good use in his and his girlfriend's cabin in New Hampshire. Last weekend I took the bus and visited my friends in Tamworth N.H. Their cabin is nice and cozy, built twenty years ago by Karl, Caitlin's father; no running water, no electricity, but with a working stove and lots of character.
The first real woodworking project I built in the USA was a pine workbench. The story of this piece began with a discarded metal cabinet I found on Irving street in Cambridge MA. I mention Irving Street because a few weeks after I found the metal cabinet I found a set of pine bunk beds waiting patiently to be picked up by the trash truck on the same street. The bunk beds provided the wood for my new workbench. A few years later I discovered another “gem†on Irving Street, which I used for the construction of a High Boy I named Cantabrigian Highboy, but more about that later. Irving Street is also important because its the street that Julia Child used to live on. A few years before she passed away her historic kitchen was taken apart, shipped to Washington and reassembled to proudly reside in the permanent collection of the Smithsonian Museum. So you see for some mysterious reason Irving St. is an important location in the tales of my own pieces and of the culinary legacy of the nation.
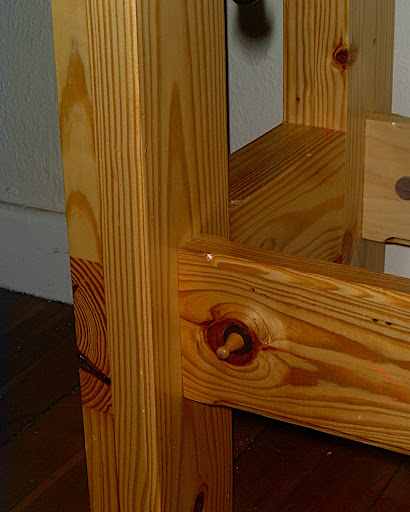
I started my new workbench by disassembling the old bunk bed parts. After that I joined planed and re-dimensioned the old-new lumber into vertical and horizontal members. For added strength I used lap joints for all the joints.
The new wooden frame was designed to encapsulate the metal cabinet. The workbench upright parts (the legs) are connected to the rails with lag screws anchored into 1†diameter wooden nuts. The bench was designed so it could be easily disassembled. It’s top incorporated lumber from the bunk beds as well. After completing the workbench, I decided the drawer pulls on the metal cabinet were just too small to be used, so I built new pulls from wood with a shape that compliments the overall look of my new American furniture.
|
AuthorI will share with you my own work, tools, and techniques. I will show how my friends and students build beautiful objects. Sometimes I will talk about wood, forests, sustainability and much more. I am sure it will be interesting Archives
January 2011
Categories
All
|


 RSS Feed
