|
The third assignment I gave to my students at Purchase, was to design and make a lamp. We had great success here with lamps ranging from artistic and beautiful to enigmatic, humoristic and topsy-turvy. I intend to show you the lamps in a future posting and, by the way, all are made primarily or partially from wood. One of my students, Robert Snyder, made two lamps. One of them was a clever Halloween prank.... but we are not cutting any slack (or corners) here: he used the best wood-joinery possible.... believe me.
And as you can see here, the dovetail construction is very meticulous.
0 Comments
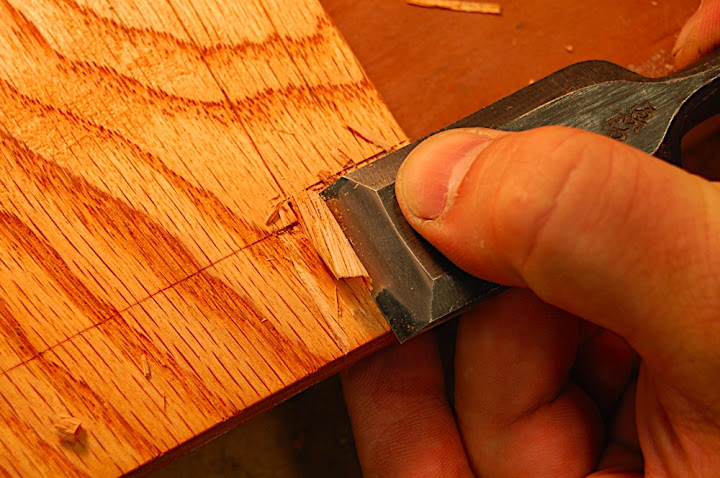
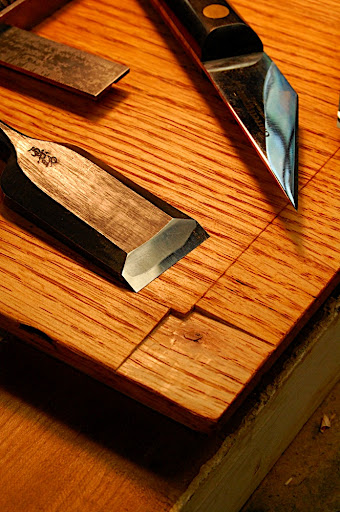
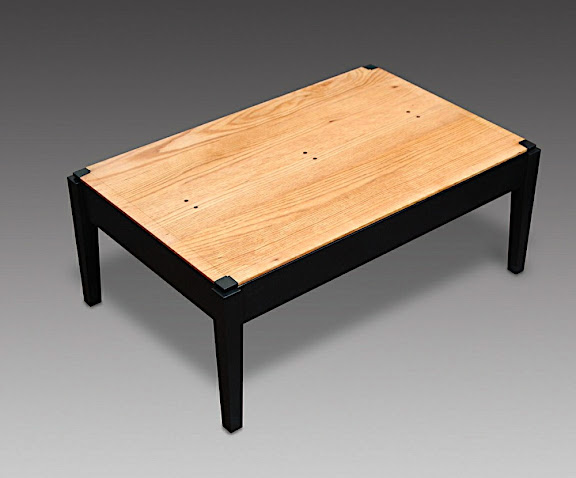
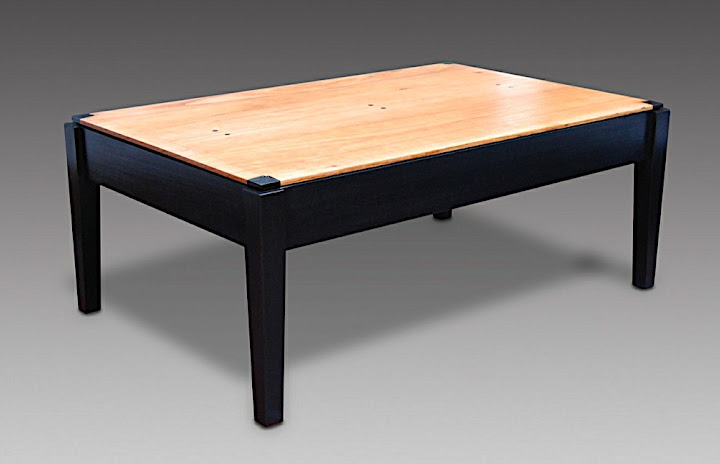
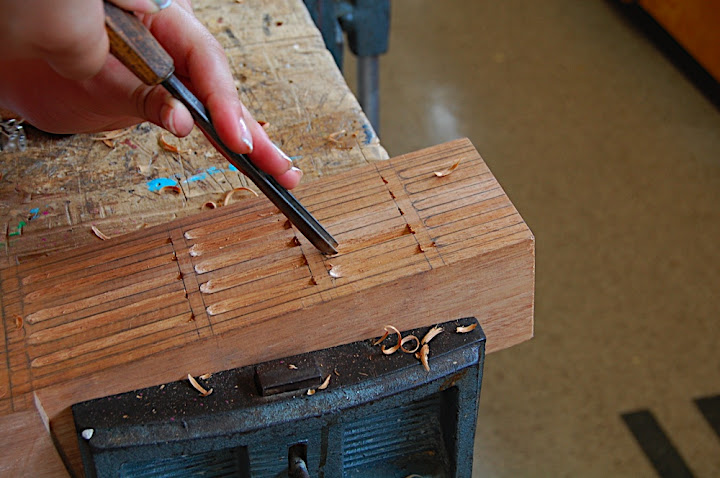
The last part in the coffee table project, was to add a corner detail to emphasize – even farther – the presence of the slanted chamfer. I decided to create an indented square at each corner which will expose the chamfer's angle and thus will make it more conspicuous.
I used a chisel and made the indentation. I then painted the square black-gray (the same color as the table base. One might mistake the black-gray square as the top of the leg, but of course this is just an illusion.
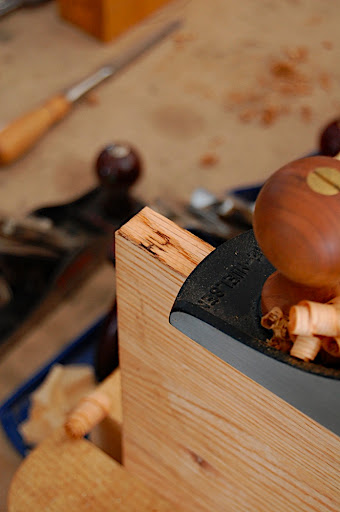
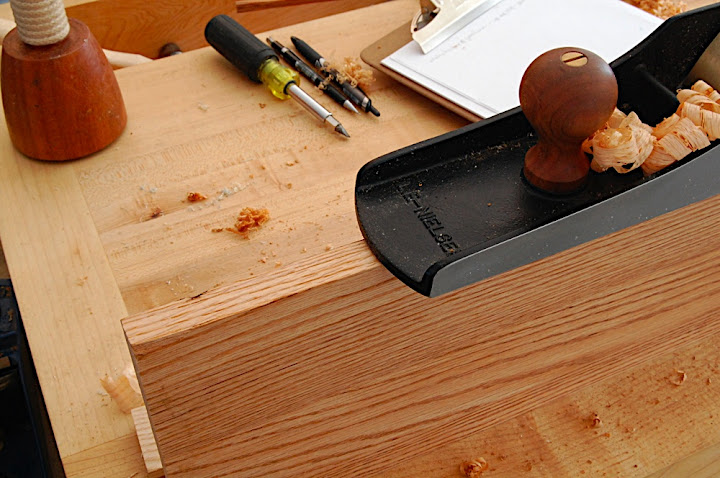
Lie Nielsen's Open House and the making of a table top – part 6: Dealing with eventualities9/19/2010 After the glue, which secure the dowels dried, I planed the dowel and its surrounding surfaces flush. Then I started to rabbet the boards edges to allow them to fit in into the table frame.
I did not want to connect the board to the frame with fasteners; it was not necessary, as I created an internal rabbet (or lip) on all the table apron/rails which will accept the rabbet on the table top.
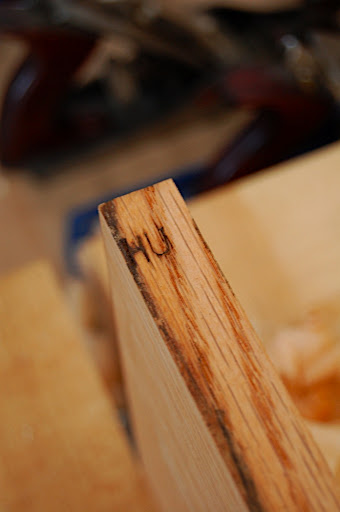
But then alas...!
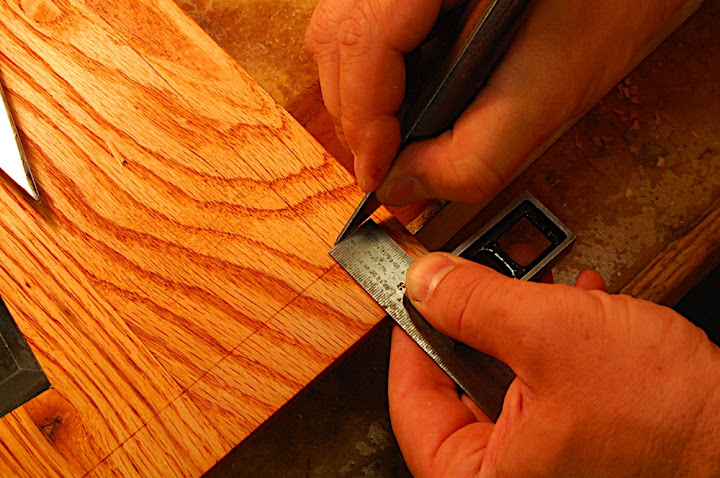
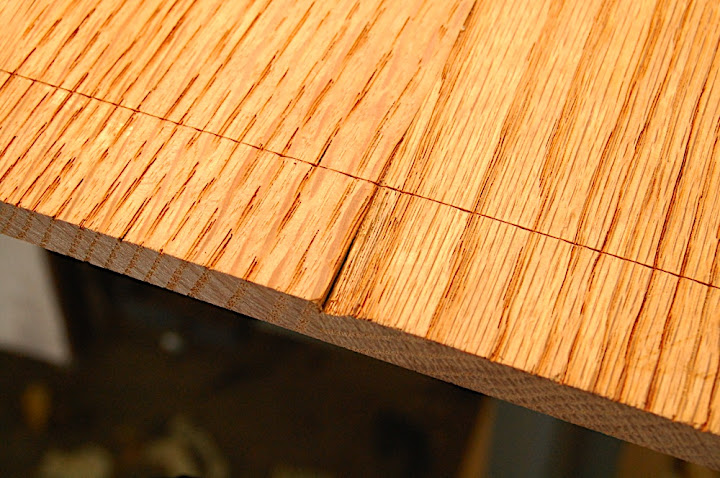
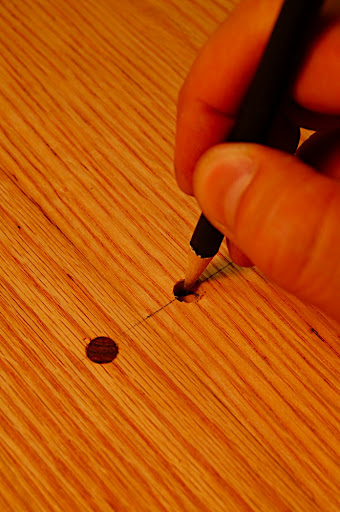
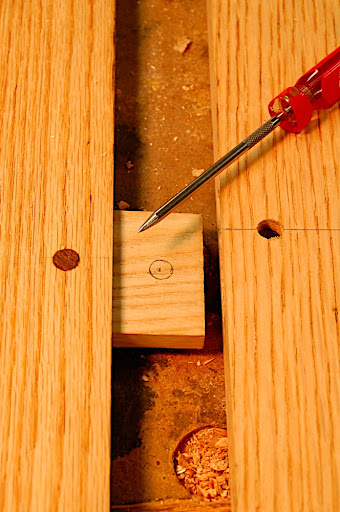
It was a pity but actually not such a bad one. As it happen often: mistakes and accidents can lead to discoveries. In this case, and instead of trying to embark on a restoration mission (fitting a replacement piece of oak and then planing it down) I decided to change the design a bit. I went on to create a slanted chamfer on all edges. I planed the chamfer until the missing wood chip blended in the angled strip. Before starting to plane the chamfer I scored its parameters. I did it for two reasons: to help me know when to stop planing; and to create a defined transition line between the chamfer and the table top.
You see, it would be very difficult to recognize a chamfer of such a subtle slanting angel – as an intended design feature – without the border line. When it is difficult to pinpoint a transition between structures or materials, people tend not to notice it.... or worth: think that the maker made a mistake or neglected to think the design through.
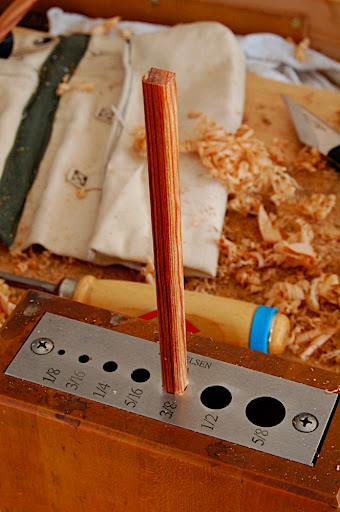
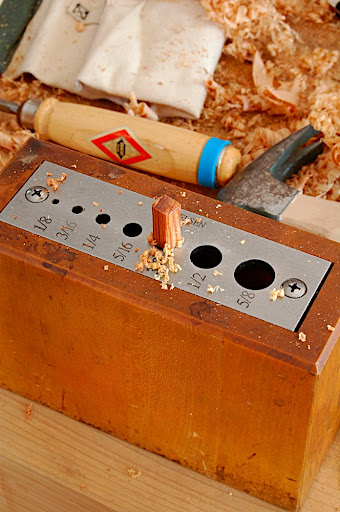
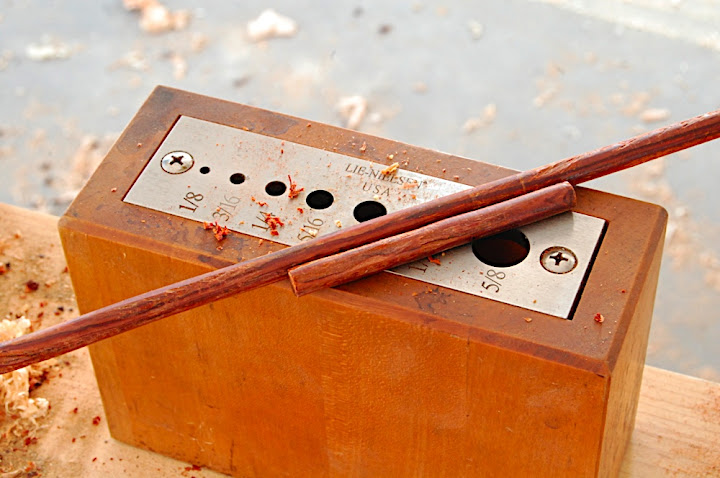
After making the keys and forming all the the mortises, I made the dowels. To make a dowel I first used the band saw to re-saw and form a square shape rod. Then I forced it into a hole in a dowel maker (dowel maker in a steel plate that has tapered holes in deferent dowel diameter.
I found out that some woods, like Bubinga or Heard pine, will not shave so nicely while others, such as birch or maple will be easier to form. However, I choose Bubinga for its beauty and contrasting effect on the oak.
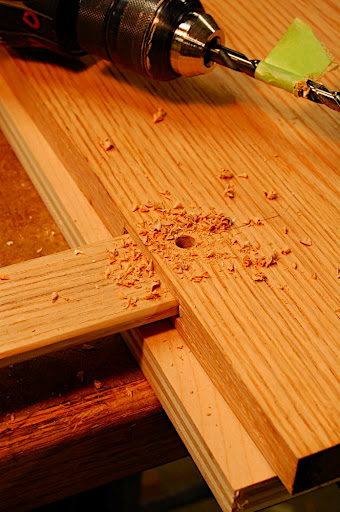
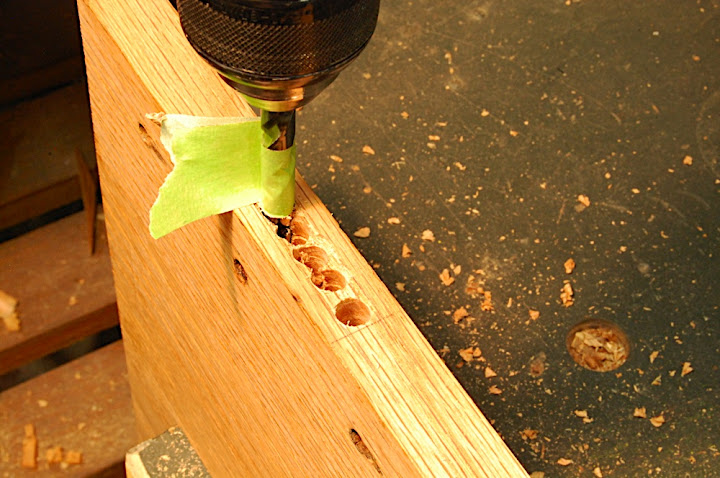
After the glue dried I drilled a hole that passed from one face of the board to the other, penetrating through the key. Than I inserted the dowel to secure the key – just in case, and for appearance purposes. Then came the crucial part of drilling and alighting the holes on the other side of the board, so that once the dowels are inserted the it will force the joint between the boards to close; enough to make the dowel to spring and pull the key inside the mortise and consequently the edges tighter.
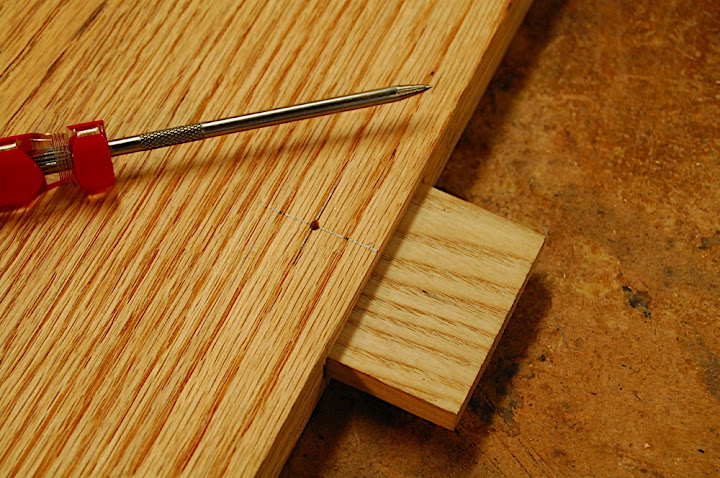
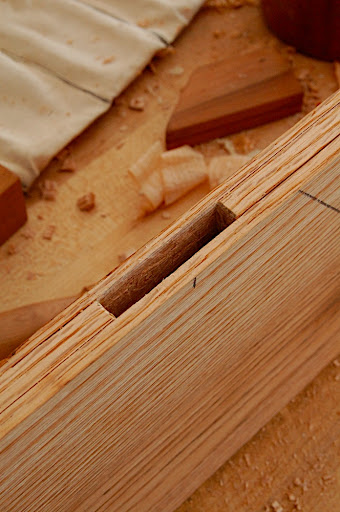
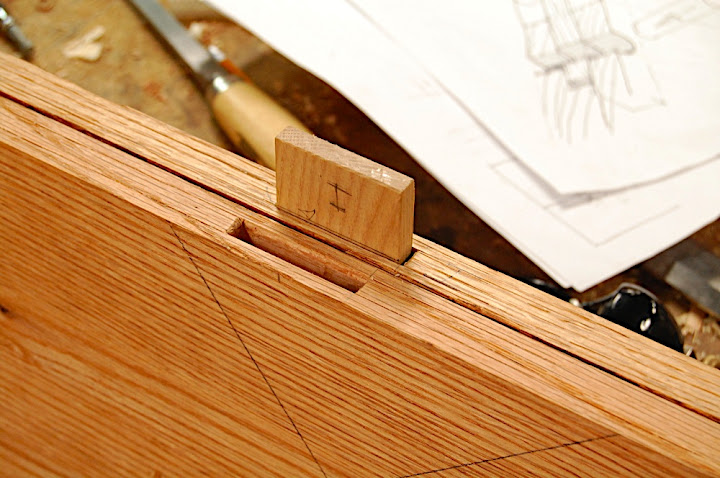
Than I inserted the facing boards and its keys to the mortises and marked out the circumference of the entry hole onto the key.
The next step was to indent an of-center point on the marked out circle. I drilled the of-center hole, brushed glue in the mortises, on the keys and on the edges and pressed the parts together. Then I drove the dowels in (with some glue) and saw how they pul the joint tight.
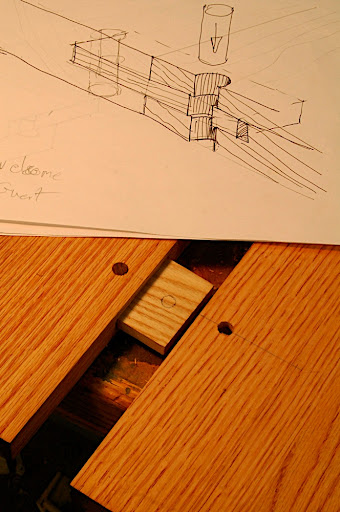
The most common and easy way to glue two boards together (in order to make a wider board) is to joint the edges, apply adhesive and clamp them under pressure until the adhesive cures. Occasionally we will add biscuits or a splines in between the edges; in other cases, when we need to make a superior joint with greater contact surfaces between the two edges, we will use a special router or shaper bit to make a series of grooves and complimentary ridges that will fit into the grooves.
In the case of the table top I built, I choose a third technic. Few years ago I read a book on country furniture making, written and illustrated by George Buchanan: The Kitchen – Timeless Traditional Woodworking Projects. While reading this book I’v learned how to join boards without the assistance of clamps. A key is inserted into the edge of the two boards, than pegs are inserted into the boards to secure the keys. But the pegs have a much more important mission. As the holes in the keys and the boards are intentionally not in complete alignment, diving the peg into place will create a force to pull the two edges together (see illustration attached).
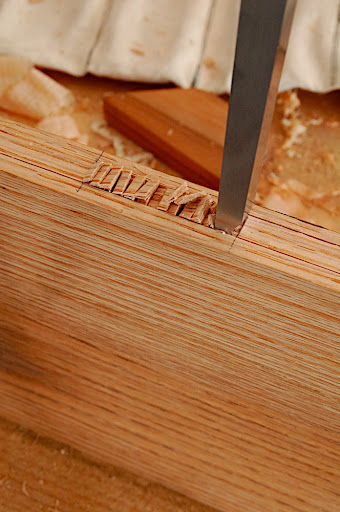
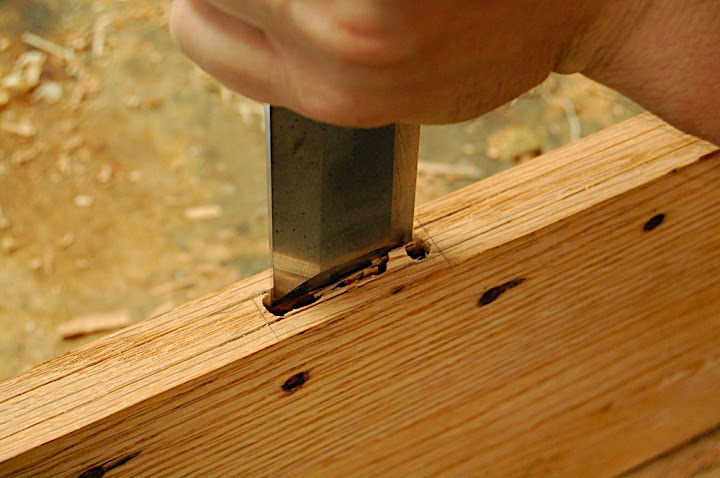
The hole in the key is off seted by a tiny amount – enough to make the peg spring and pull the key inside the mortise and consequently the edges tighter. I made the keys from ash. At Lie Nielsen’s open house event I used mortising chisels to crated the mortises. Later on in my studio, I finished the remaining mortises by combining together the force of a cordless drill, a mortise chisel (for the mortise narrow edge) and a bench chisel on the long edges.
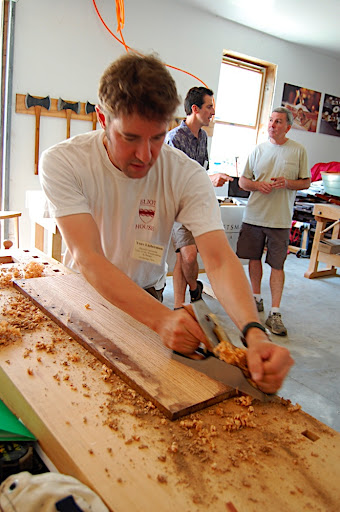
Lie Nielsen's Open House and the making of a table top – part 3: Planing the table top's boards.8/29/2010 As you recall in my first posting about the Lie Nielsen's open house, I wrote that in order to make the new coffee tablet top, I used the remains of an old bookcase that I salvaged from the trash of Harvard college.
The bookcase had several parts which were dadoed-nailed together. To make the coffee table top I decided to used the book case’s sides. I chose the outer surfaces to be the top’s top. This was the obvious choice, as the inner faces – which included the holes for the shelves hangers – had to be placed face down. At first I did not know what kind of finish was applied on the boards. It looked dark brown and not in the best condition. I decided to take it off, and knew I could do it in few ways: Sanding, striping, or planing.
I don’t like sanding – who does, besides, if you plane after sanding you will most likely ruin the nice edge you work so hard to create.
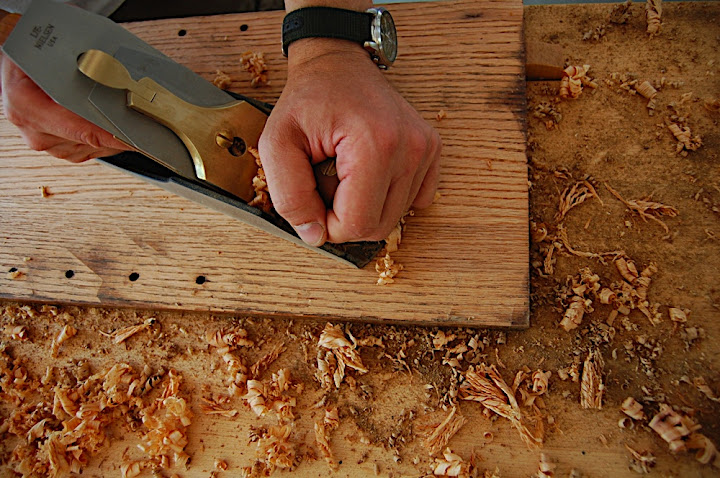
So the last option, and my most favorite one, is hand planing. When I started planing, I smelled a familiar scent. It was mixture of mold smell and shellac aroma.... and no, I am have not lost my mind... I used a No 4 1/2 plane and a low angle Jack plane with a toothed blade. At first everything worked fine. I encountered no tear-outs and managed to remove the finish and a thin layer of shaving with ease. But them things started to be comlicated. Parts of the finish stacked to the sole of the plane and practically lifted it off the surface to the extant the the blade could not engaged the wood.
I tried to remove the clogged up finish with a 3M scrub pad, but this was time consuming, and plus, I did not wanted to erode the sole of the plane.
Then came the eureka moment we all are very proud of when we remember it in retrospect! why to straggle with the finish with mechanical means when I know what shellac is most submissive to? you guess correctly (and you don’t have to pass Organic Chemistry 101): Alcohol, Methanol, Ethanol... as far as I know they all dissolve it fast and efficiently. And this is exactly what I did. I got some denatured alcohol and cleaned the plan’s sole every time shellac clogged it. After this, planing was quite easy and I finished stage one of the project in less then two hours (including one coffee brake and few chitchats with my fellow artist and other guests).
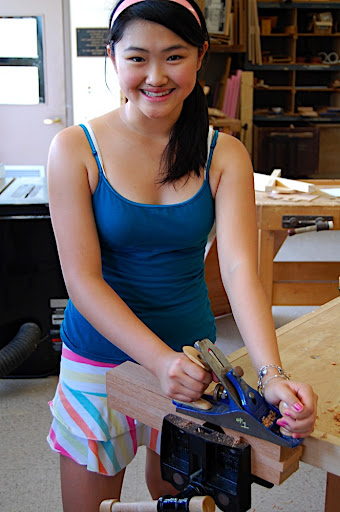
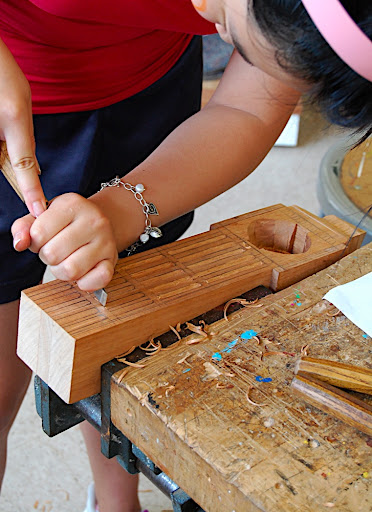
This summer I am teaching the next generation of wood-lovers, wood hobbyists, and perhaps even one or two future cabinet-maker/wood-artists. I preach the gospel of Woodworking in an amazing setting: the wood-shop of the Belmont Hill School in Belmont MA. The school’s summer program attracts kids and teenagers from around the Boston area. Each day I hang my bike on the front rack of bus # 78, and take the ride up the green hill onto the lush campus of Belmont Hill School. The group I teach is diverse: kids and teenagers, boys and girls. It's a fantastic class of students who are fun to work with. The youngest student in my class is only eleven, the oldest seventeen. But age does not always correlate to better or more accurate saw cuts, chisel handling, innovative thinking or motivation to start and finish the job on time. It is fascinating to see how some kids, who hold a saw or a chisel for the first time, will produce a perfect kerf a minute later. Others will devise clever ways to move their hands in the right way to achieve a successful cut, incorporating sawing-guides and other aids. They love planning and chiseling and gouge-work. I believe that all of them gain valuable experience: hand–mind skills and impulse control. Most importantly they realize that in some fields of life you just have to plan ahead and execute a project carefully, “you know, we don’t have an ‘undo’ button in woodworking”, I tell them. They manage to finish a project or two over the three weeks of the class, and they all do a good job and feel satisfied with their accomplishments.
|
AuthorI will share with you my own work, tools, and techniques. I will show how my friends and students build beautiful objects. Sometimes I will talk about wood, forests, sustainability and much more. I am sure it will be interesting Archives
January 2011
Categories
All
|


 RSS Feed
