Lie Nielsen's Open House and the making of a table top – part 3: Planing the table top's boards.8/29/2010 As you recall in my first posting about the Lie Nielsen's open house, I wrote that in order to make the new coffee tablet top, I used the remains of an old bookcase that I salvaged from the trash of Harvard college.
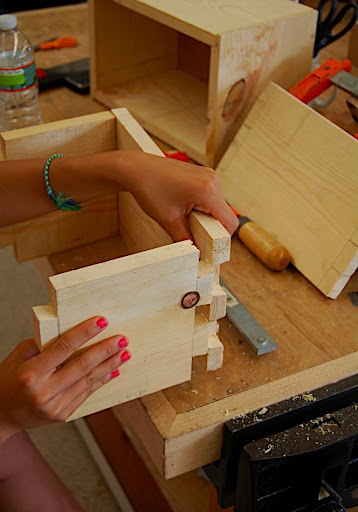
The bookcase had several parts which were dadoed-nailed together. To make the coffee table top I decided to used the book case’s sides. I chose the outer surfaces to be the top’s top. This was the obvious choice, as the inner faces – which included the holes for the shelves hangers – had to be placed face down. At first I did not know what kind of finish was applied on the boards. It looked dark brown and not in the best condition. I decided to take it off, and knew I could do it in few ways: Sanding, striping, or planing.
I don’t like sanding – who does, besides, if you plane after sanding you will most likely ruin the nice edge you work so hard to create.
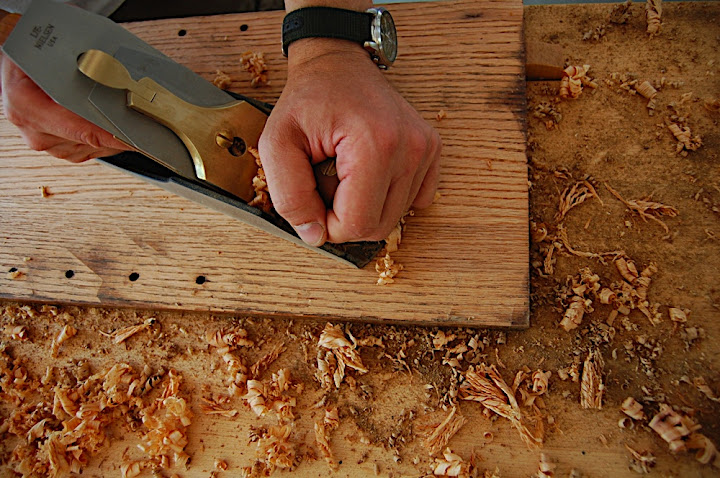
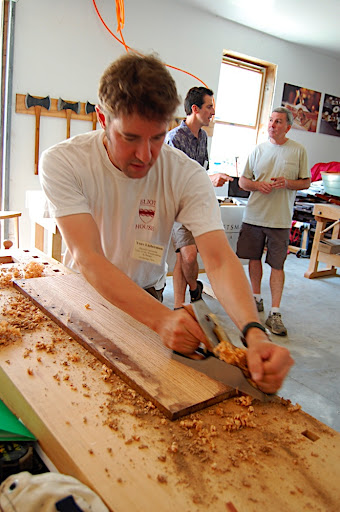
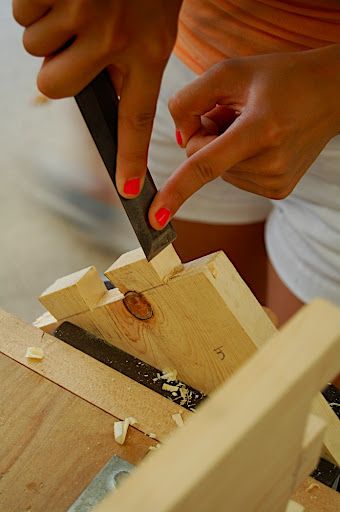
So the last option, and my most favorite one, is hand planing. When I started planing, I smelled a familiar scent. It was mixture of mold smell and shellac aroma.... and no, I am have not lost my mind... I used a No 4 1/2 plane and a low angle Jack plane with a toothed blade. At first everything worked fine. I encountered no tear-outs and managed to remove the finish and a thin layer of shaving with ease. But them things started to be comlicated. Parts of the finish stacked to the sole of the plane and practically lifted it off the surface to the extant the the blade could not engaged the wood.
I tried to remove the clogged up finish with a 3M scrub pad, but this was time consuming, and plus, I did not wanted to erode the sole of the plane.
Then came the eureka moment we all are very proud of when we remember it in retrospect! why to straggle with the finish with mechanical means when I know what shellac is most submissive to? you guess correctly (and you don’t have to pass Organic Chemistry 101): Alcohol, Methanol, Ethanol... as far as I know they all dissolve it fast and efficiently. And this is exactly what I did. I got some denatured alcohol and cleaned the plan’s sole every time shellac clogged it. After this, planing was quite easy and I finished stage one of the project in less then two hours (including one coffee brake and few chitchats with my fellow artist and other guests).
0 Comments
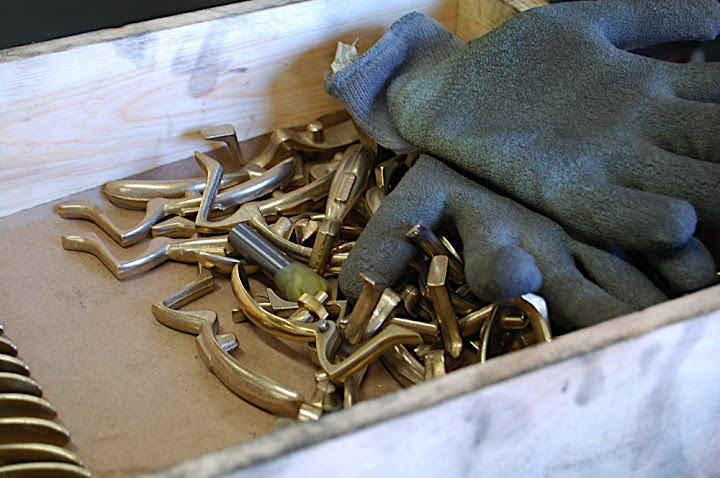
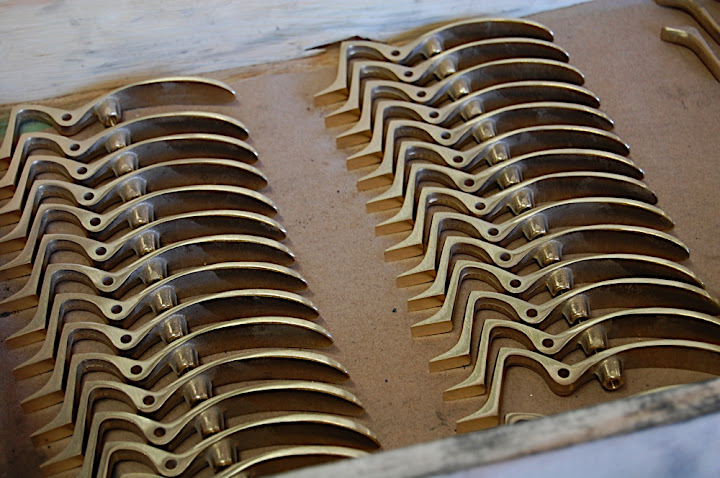
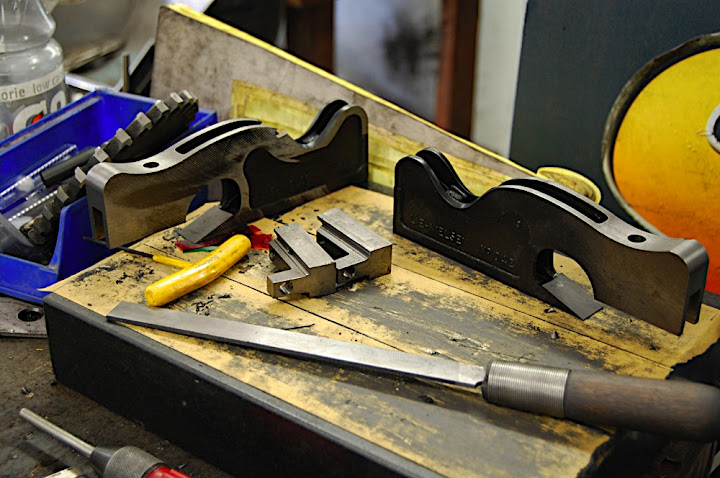
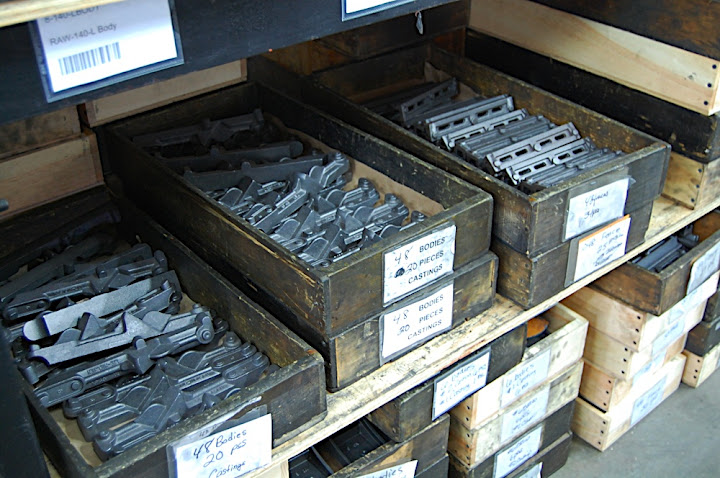
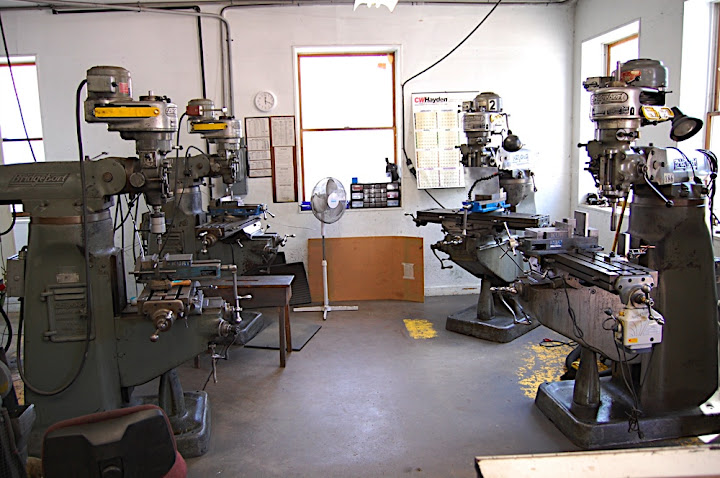
Lie Nielsen's Open House and the making of a table top – part 2: Touring the factory's floor.8/23/2010 In my last posting I said that part of the Open House event included a tour of the Lie Nielsen’s plant. Scroll down to see few of the pictures I took which show tools in different stages of machining and fitting. My favorite photo is of the # 73 rabbet plane on a granite tablet as it is being dressed up for final fit.
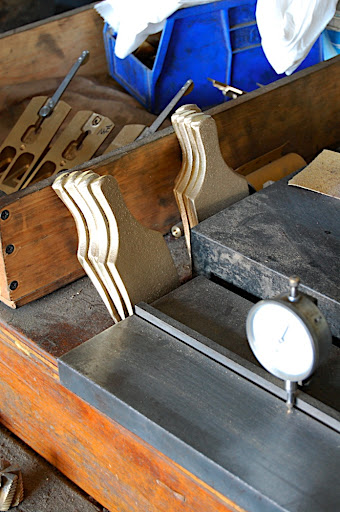
Bronze lever caps for a small rabbet plane
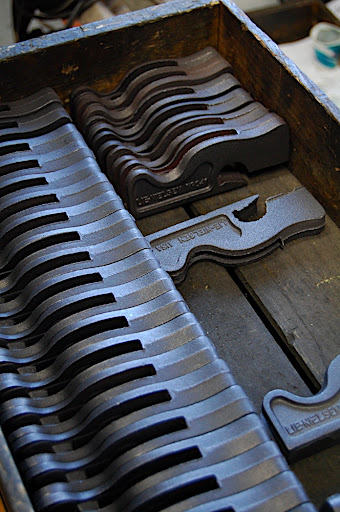
Small rabbet plane iron bodies
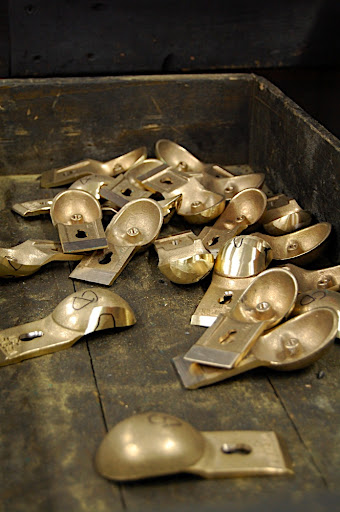
Small block plane lever caps
Brass shavings are being collected for future recycling
"We are good to go"
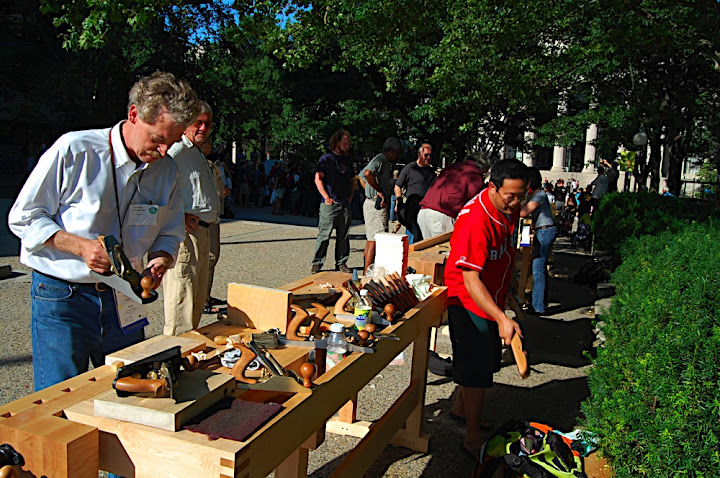
Later in the year, over the dinner table at the Furniture Society conference in MIT, he asked me if I be interested in coming over to Warren Maine for a day or two, to join a group of wood artist, tool makers, and woodworking educators who are to “set up shop” on the Lie Nielsen factory floor, and demonstrate to the guests what we do. We talked about the stuff I can show and demonstrate, and what kind of project I would/could work on during the Open House.
After few days I came up with a plan: I will bring with me the dismantled parts of an old Harvard College book case that I found in the trash, and transform the beaten-up oak boards into a coffee table top. I finished building the coffee table two years ago but I haven't built the top yet; the open house event was just the right incentive and setting I needed to complete this project.
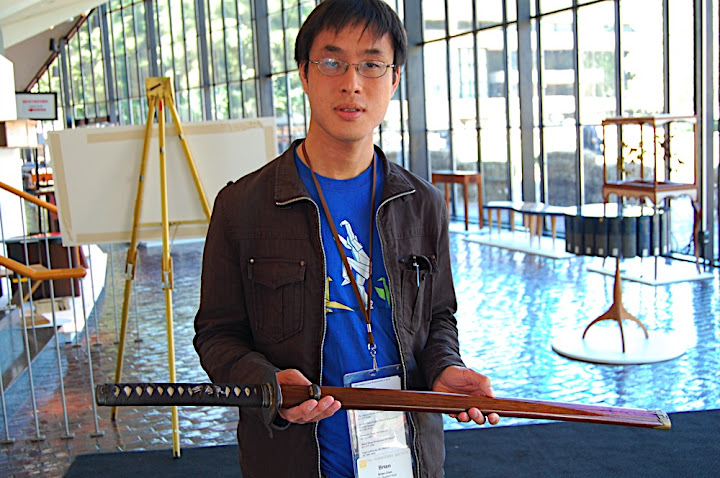
Few weeks passed and I was on my way to Maine. My friend Brian Chan joined me for the ride. Brian who is a brilliant metal and wood artist (a sword maker and more), an origami master and an innovator, is entitled for few posting on my blog too – which I promises to write about in the future. The ride was uneventful except for an unbelievable thunder storm that came down on us while crossing the boarder between New Hampshire and Maine.
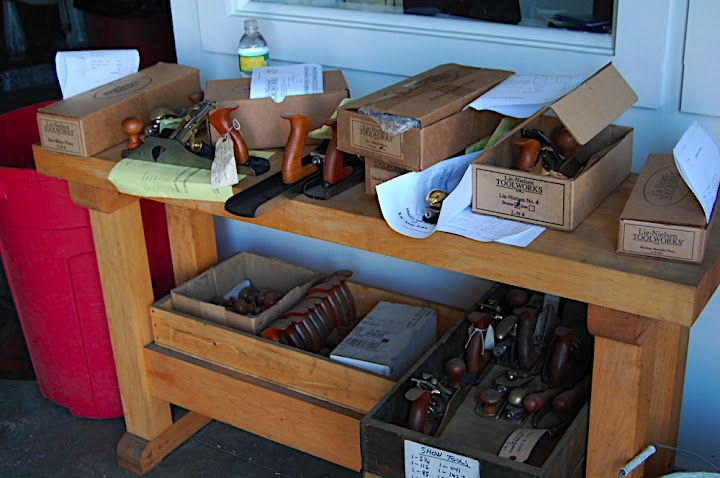
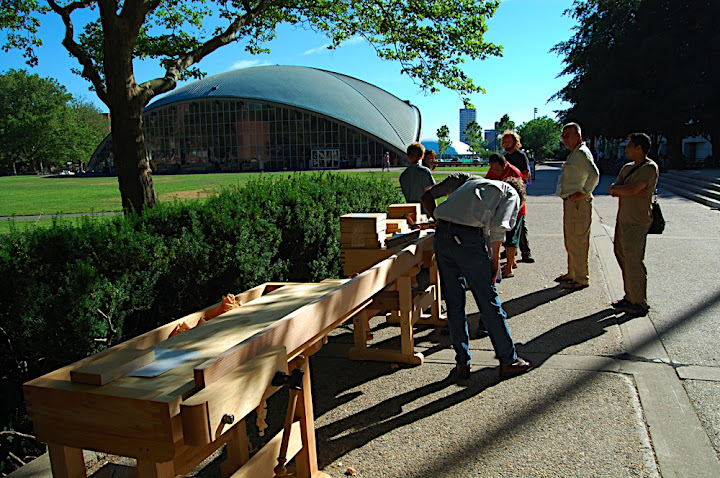
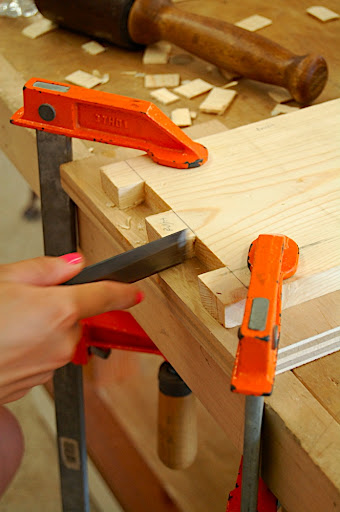
On Saturday morning I got one of Lie Nielsen's state-of-the-art work benches, and got ready to start crafting my new table top.
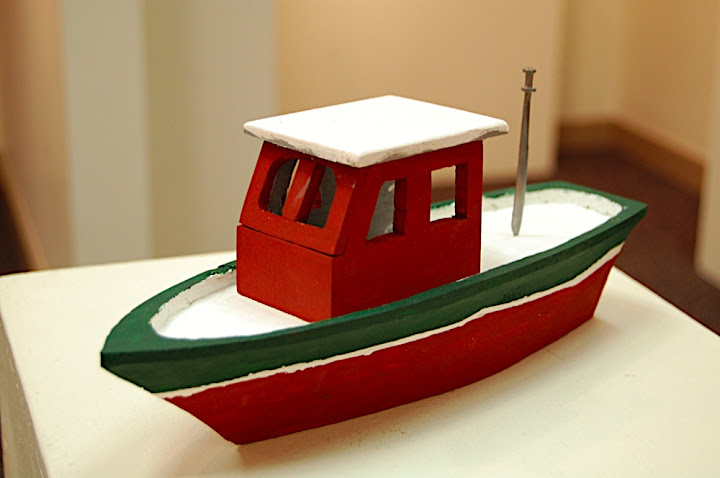
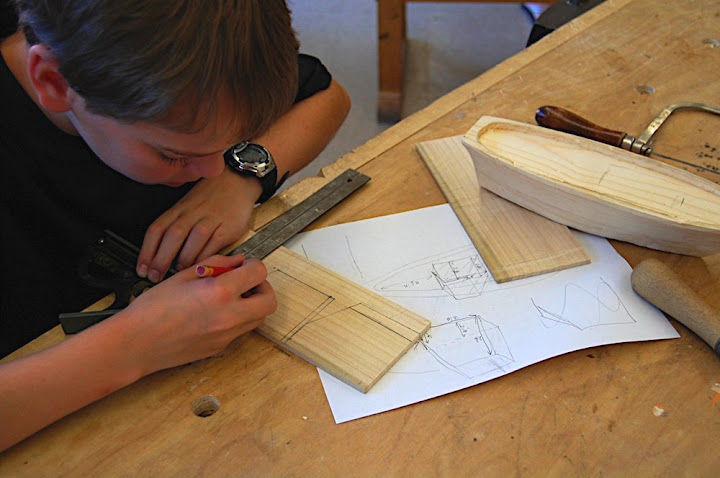
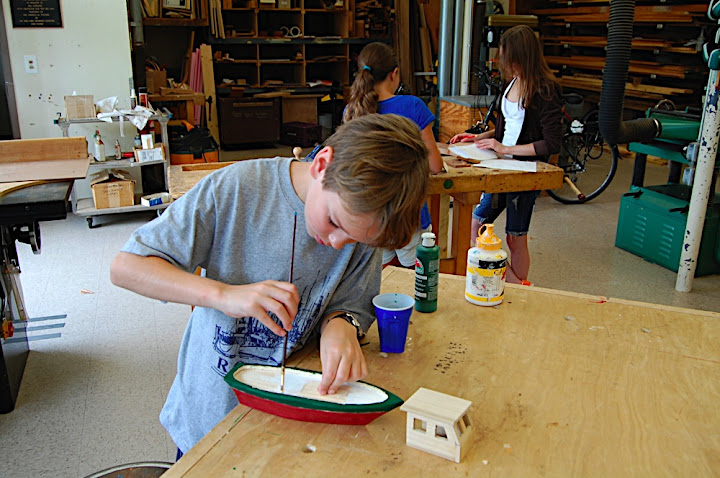
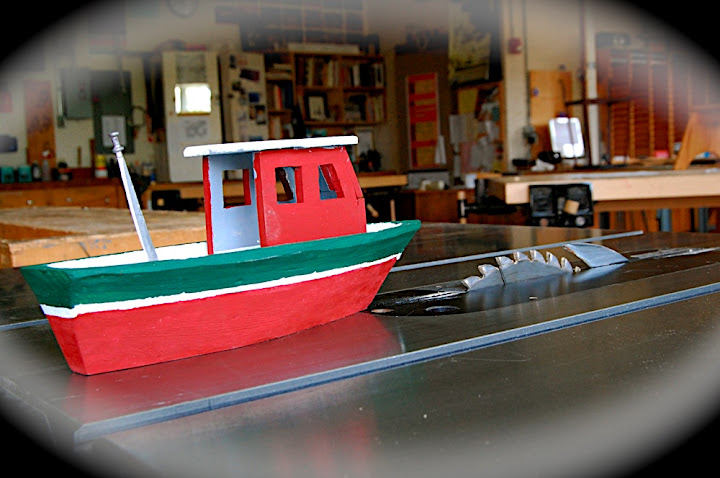
William’s first woodworking project was a New England trawler boat. The kind of boat you see in the quaint harbors of shore towns and villages along the North East coast. He started by devising a plan: a plan/top view, side view and cross section of the hull. From these drawings we extracted plans for each of the three plies, which after laminated together, made the boat hull blank.
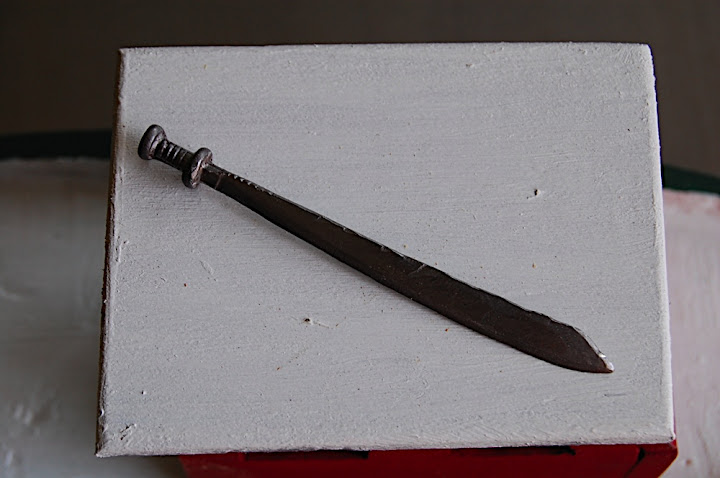
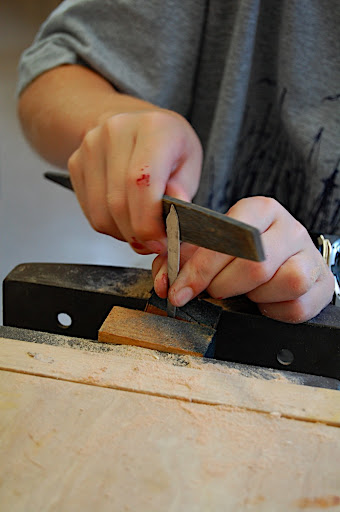
We sometimes stumble upon inadvertent discoveries, things that strike us as so quintessentially simple, and yet so great.... Such was the case of the nail-sword made by my student, William. Kids are always on the lookout for new adventures. When William saw the old English anvil in the corner of the shop, he immediately wanted find out how he could make use of it. After all, anvils are fascinating creatures, they look like a miniature iron rhinoceros, or a unicorn, yet they will never charge at you – even if you hit them with a hammer. I decided to give William an object – thin enough that he could manipulate it using a cold-forming technique with a Ball-peen hammer. I also wanted him to be able to take home a real “product” at the end of the experiment. So I went to the depository box of forgotten & forsaken nails and bolts (every decent shop will have one or two boxes like his) and extracted a double-headed nail. I gave the nail to William, showed him how to hold the hammer and hit the nail. Action and Reaction: the first law of particle physics.... and of Life as we know it.
One of the greatest editions to any activity is having music play in the background; one of the greatest advantages of working with hand tools (as opposed to power tools) is that you can actually listen to music while woodworking. In our summer program classroom we have a Mac connected to speakers. I hooked the Mac to my GrooveShark.com play-list and ran my collections of song on random shuffle. If you want to listen to my play-list, here is the link: http://listen.grooveshark.com/#/user/yoavliberman/3414157
|
AuthorI will share with you my own work, tools, and techniques. I will show how my friends and students build beautiful objects. Sometimes I will talk about wood, forests, sustainability and much more. I am sure it will be interesting Archives
January 2011
Categories
All
|


 RSS Feed
