|
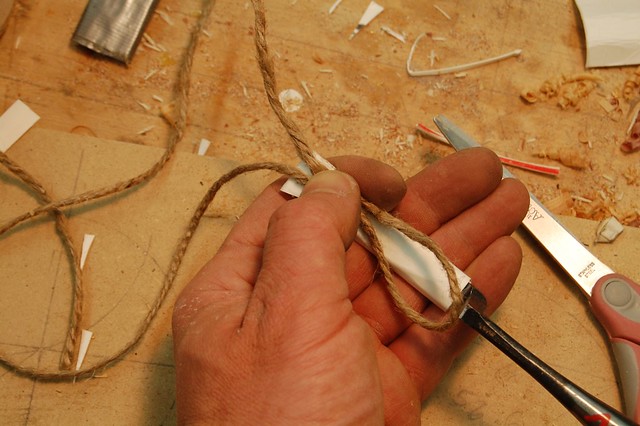
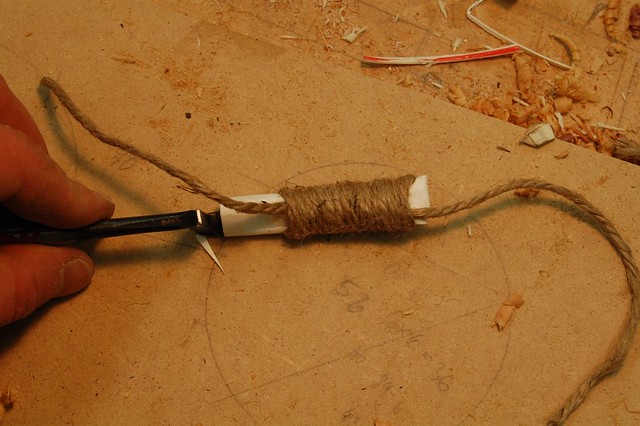
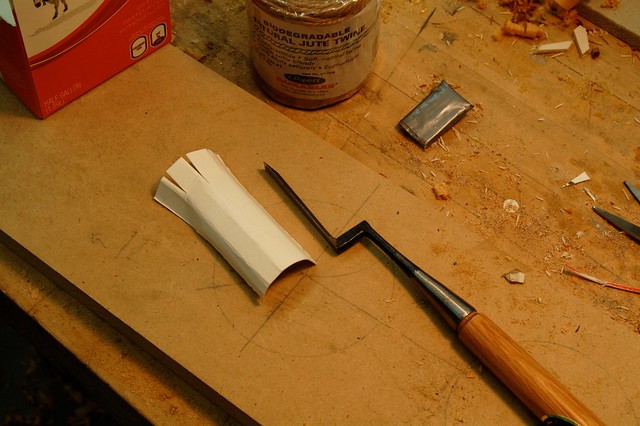
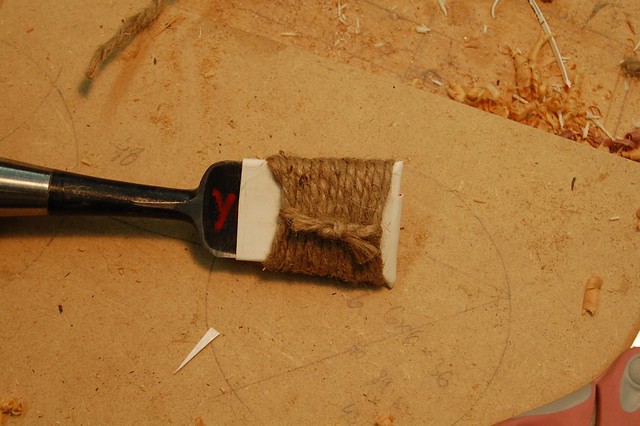
We woodworkers have plenty of sharp tools in our possession. From chisels to gouges, from marking knifes and awls to compasses and drill bits. The question of how to protect the sharp edges from damage, and how to protect ourselves from being hurt by them, is always in the air. Not always will you get a chisel guard with the tool and, in the case of specialty tools, you will probably receive none. So, last month I came up with an idea to make a cheap and nice looking guard which can be tailored to protect and (keep at bay) almost any tool tip. The ingredients I used can be found in every household: a milk carton and rope. Milk cartons is tough and are supposed to be non-acidic, so it will not hurt the steel on your tools. Basic recipes: I cut a piece of cardboard form an empty food container, such as a milk or soy-milk container. Half of it extends beyond the tip of the tool and half under it.
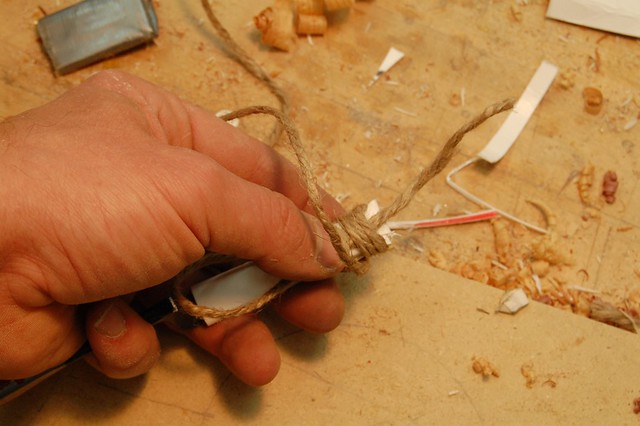
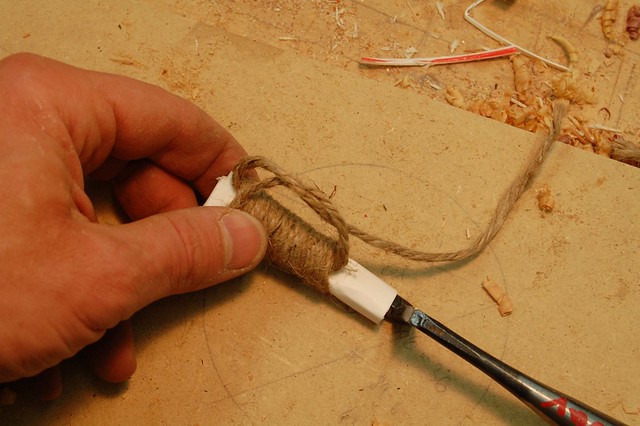
I fold it a few times around the tip of the tool, then fold the extended half backwards and wrap a rope whipping around it....To learn few techniques for rope endings (whipping) see the attached video (Youtube).
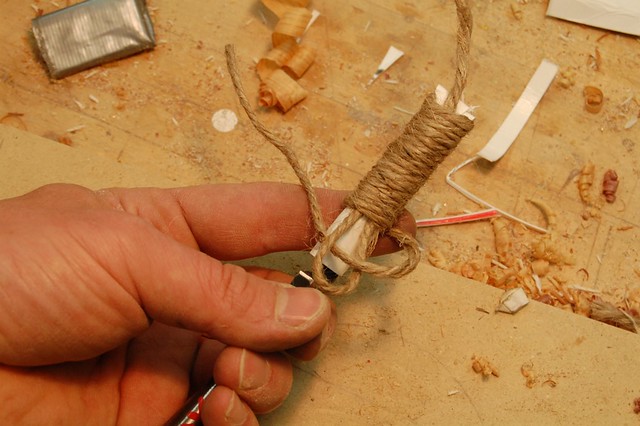
At this point you can decide to leave the whipping as is or to add another decorative knot to it...
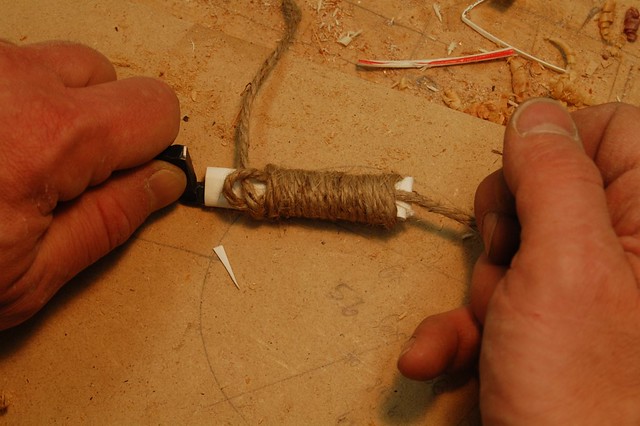
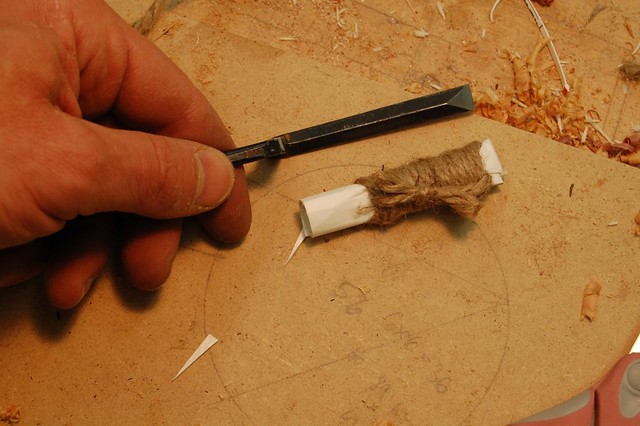
Fancier technique: I cut a series of flaps at the end of the cardboard and gradually fold/tuck them in as the folding around of the cardboard progresses. I than use the rope ending technique as described before..
As you all found out securing chisel or other tool guards with duct tape is a short term measure; duct tape will eventually peel of and will leave a sticky gooey residues all over the place. My technique (I am sure I am not the first one who thought about it) is clean and neat.
0 Comments
Leave a Reply. |
AuthorI will share with you my own work, tools, and techniques. I will show how my friends and students build beautiful objects. Sometimes I will talk about wood, forests, sustainability and much more. I am sure it will be interesting Archives
January 2011
Categories
All
|


 RSS Feed
