Lie Nielsen's Open House and the making of a table top – part 3: Planing the table top's boards.8/29/2010 As you recall in my first posting about the Lie Nielsen's open house, I wrote that in order to make the new coffee tablet top, I used the remains of an old bookcase that I salvaged from the trash of Harvard college.
The bookcase had several parts which were dadoed-nailed together. To make the coffee table top I decided to used the book case’s sides. I chose the outer surfaces to be the top’s top. This was the obvious choice, as the inner faces – which included the holes for the shelves hangers – had to be placed face down. At first I did not know what kind of finish was applied on the boards. It looked dark brown and not in the best condition. I decided to take it off, and knew I could do it in few ways: Sanding, striping, or planing.
I don’t like sanding – who does, besides, if you plane after sanding you will most likely ruin the nice edge you work so hard to create.
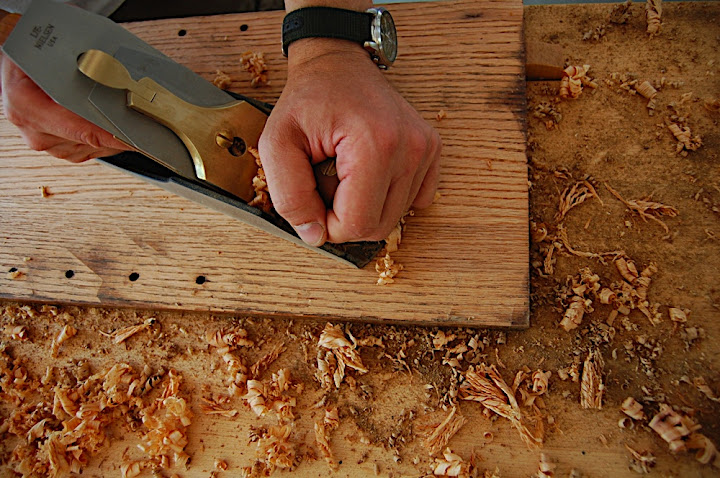
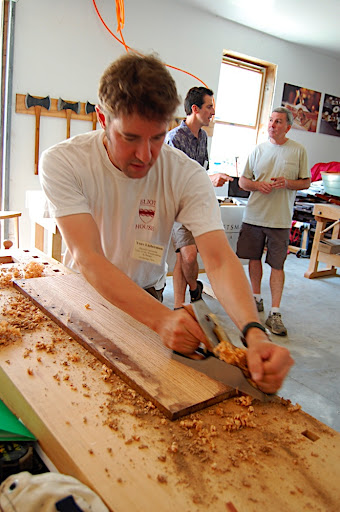
So the last option, and my most favorite one, is hand planing. When I started planing, I smelled a familiar scent. It was mixture of mold smell and shellac aroma.... and no, I am have not lost my mind... I used a No 4 1/2 plane and a low angle Jack plane with a toothed blade. At first everything worked fine. I encountered no tear-outs and managed to remove the finish and a thin layer of shaving with ease. But them things started to be comlicated. Parts of the finish stacked to the sole of the plane and practically lifted it off the surface to the extant the the blade could not engaged the wood.
I tried to remove the clogged up finish with a 3M scrub pad, but this was time consuming, and plus, I did not wanted to erode the sole of the plane.
Then came the eureka moment we all are very proud of when we remember it in retrospect! why to straggle with the finish with mechanical means when I know what shellac is most submissive to? you guess correctly (and you don’t have to pass Organic Chemistry 101): Alcohol, Methanol, Ethanol... as far as I know they all dissolve it fast and efficiently. And this is exactly what I did. I got some denatured alcohol and cleaned the plan’s sole every time shellac clogged it. After this, planing was quite easy and I finished stage one of the project in less then two hours (including one coffee brake and few chitchats with my fellow artist and other guests).
0 Comments
Leave a Reply. |
AuthorI will share with you my own work, tools, and techniques. I will show how my friends and students build beautiful objects. Sometimes I will talk about wood, forests, sustainability and much more. I am sure it will be interesting Archives
January 2011
Categories
All
|


 RSS Feed
